How to Avoid Air Bubbles and Peeling in Window Tinting
A clean, sleek, and perfectly tinted window can completely transform the look of your car. But let’s be honest—nothing ruins that fresh tint job faster than those annoying air bubbles and unsightly peeling edges. You’ve probably seen it before: a car that looked great right after tinting, only to develop bubbles and curling film within weeks. Frustrating, right?
The good news is that these issues are entirely preventable. Air bubbles and peeling usually come down to one of two things: improper installation or poor-quality materials. Many DIY enthusiasts take on tinting projects without realizing the precision and technique required. Others fall victim to low-cost, subpar tint films that simply don’t hold up over time. And even when you choose the right materials, failing to prepare the surface correctly or not allowing the tint to cure properly can lead to long-term problems.
In this article, we’ll break down exactly what causes bubbles and peeling in window tinting—and, more importantly, how you can avoid them. Whether you’re planning a DIY installation or hiring a professional, understanding these key factors will ensure a smooth, durable, and flawless finish. Let’s dive in and explore the best practices for achieving a perfect, bubble-free tint that lasts.
Understanding Air Bubbles and Peeling
Air bubbles and peeling are the ultimate enemies of a flawless window tint job. You spend time and money getting your car window tinting done, and then — bam! — unsightly bubbles start popping up, or the edges of the film begin to curl. It’s frustrating, but understanding why it happens is the first step toward preventing it.
So what’s behind those annoying air bubbles? More often than not, it’s improper installation. If the glass surface isn’t cleaned thoroughly before applying the film, dirt or dust can get trapped underneath, causing uneven adhesion. Sometimes, it’s just a rushed job — failing to use the right tools to smooth the film can leave pockets of air behind.
Peeling, on the other hand, usually comes down to poor-quality materials or bad technique. Cheap tint films often lack strong adhesives, making them more prone to lifting at the edges. But even high-quality tint can peel if the surface wasn’t prepped correctly or if the film wasn’t aligned and pressed down with care.
The good news? Both of these issues are avoidable. With the right approach and attention to detail, your car window tint can stay smooth and secure for years. Let’s talk about how to make that happen!
Choosing Quality Tinting Materials
When it comes to car window tinting, the materials you choose make all the difference. Seriously — if you skimp on quality, you’re practically inviting air bubbles and peeling to ruin your investment. High-quality tinting materials don’t just look better; they last longer and stick better, too.
So how exactly do premium materials help? It’s all about the adhesive and the film’s structure. High-quality tinting films are designed to bond seamlessly to your windows, reducing the chance of air pockets forming during installation. They’re also more resistant to heat, UV rays, and everyday wear and tear — which means less chance of the edges curling up over time.
But not all films are created equal. When choosing a tint, look for trusted brands and proven types like ceramic or carbon films. These offer superior durability and clarity compared to cheap dyed films, which are notorious for fading, bubbling, and peeling. Also, check if the film has UV protection and a solid warranty — these are often signs of a quality product.
Investing in the right materials upfront saves you from the headache of constant repairs or replacements. And trust me, your windows (and your wallet) will thank you for it. Let’s dive into why professional installation matters just as much!
Proper Surface Preparation
If there’s one step you absolutely can’t skip in car window tinting, it’s surface preparation. Think about it — your car’s windows are like a canvas, and if that canvas isn’t perfectly clean and smooth, the final product is bound to have flaws. Bubbles? Peeling? Those often start with dirt, dust, and residue left behind before the tint is even applied.
A spotless surface is essential for proper adhesion. Even the tiniest speck of dust or a streak of cleaner residue can trap air under the film, creating those unsightly bubbles we all dread. Over time, contaminants weaken the adhesive, causing the tint to lift and peel — and once that starts, there’s no easy fix.
So what’s the right way to prepare? Start with a thorough wash using a gentle, ammonia-free cleaner. Ammonia-based products can damage the tint’s adhesive, so avoid those at all costs. Next, use a lint-free cloth or squeegee to dry the windows completely, making sure no fibers or streaks remain. Pay extra attention to the edges and corners — that’s where dirt loves to hide.
Proper prep takes a little more time, but the payoff is worth it. It’s one of the simplest ways to ensure your window tinting stays smooth, flawless, and bubble-free for the long haul. Ready for the next step? Let’s talk about the importance of expert installation!
Optimal Application Environment
When it comes to car window tinting, the environment where you apply the film matters more than you might think. Temperature, humidity, and even airflow can make or break your tint job. Ever seen tint with bubbles or edges that just won’t stick? That’s often a sign the environment wasn’t right during installation.
Let’s talk temperature first. The sweet spot for tint application is between 50°F and 80°F (10°C to 27°C). Too hot, and the adhesive can dry too quickly, trapping air bubbles before you have a chance to smooth them out. Too cold, and the film won’t stick properly, leading to peeling down the line.
Humidity is just as important. High moisture in the air can interfere with the adhesive, making it harder for the film to bond to the glass. On the flip side, if it’s too dry, static can attract dust — and even the smallest speck can cause bumps and bubbles under the film.
The best place for tinting? A clean, dust-free indoor space with controlled temperature and humidity. Garages or professional tinting shops are ideal. If you’re tinting outdoors, choose a calm, overcast day with mild weather. Avoid windy conditions — unless you want every bit of dust in the area to become part of your tint job.
Get the environment right, and you’re setting your window tinting up for long-term success. Next up: why professional installation might be the smartest choice!
Professional Installation vs. DIY
When it comes to car window tinting, the big question often is: should you do it yourself or call in the pros? While the DIY route might seem tempting — especially if you’re trying to save money — it often comes with risks that can lead to poor results.
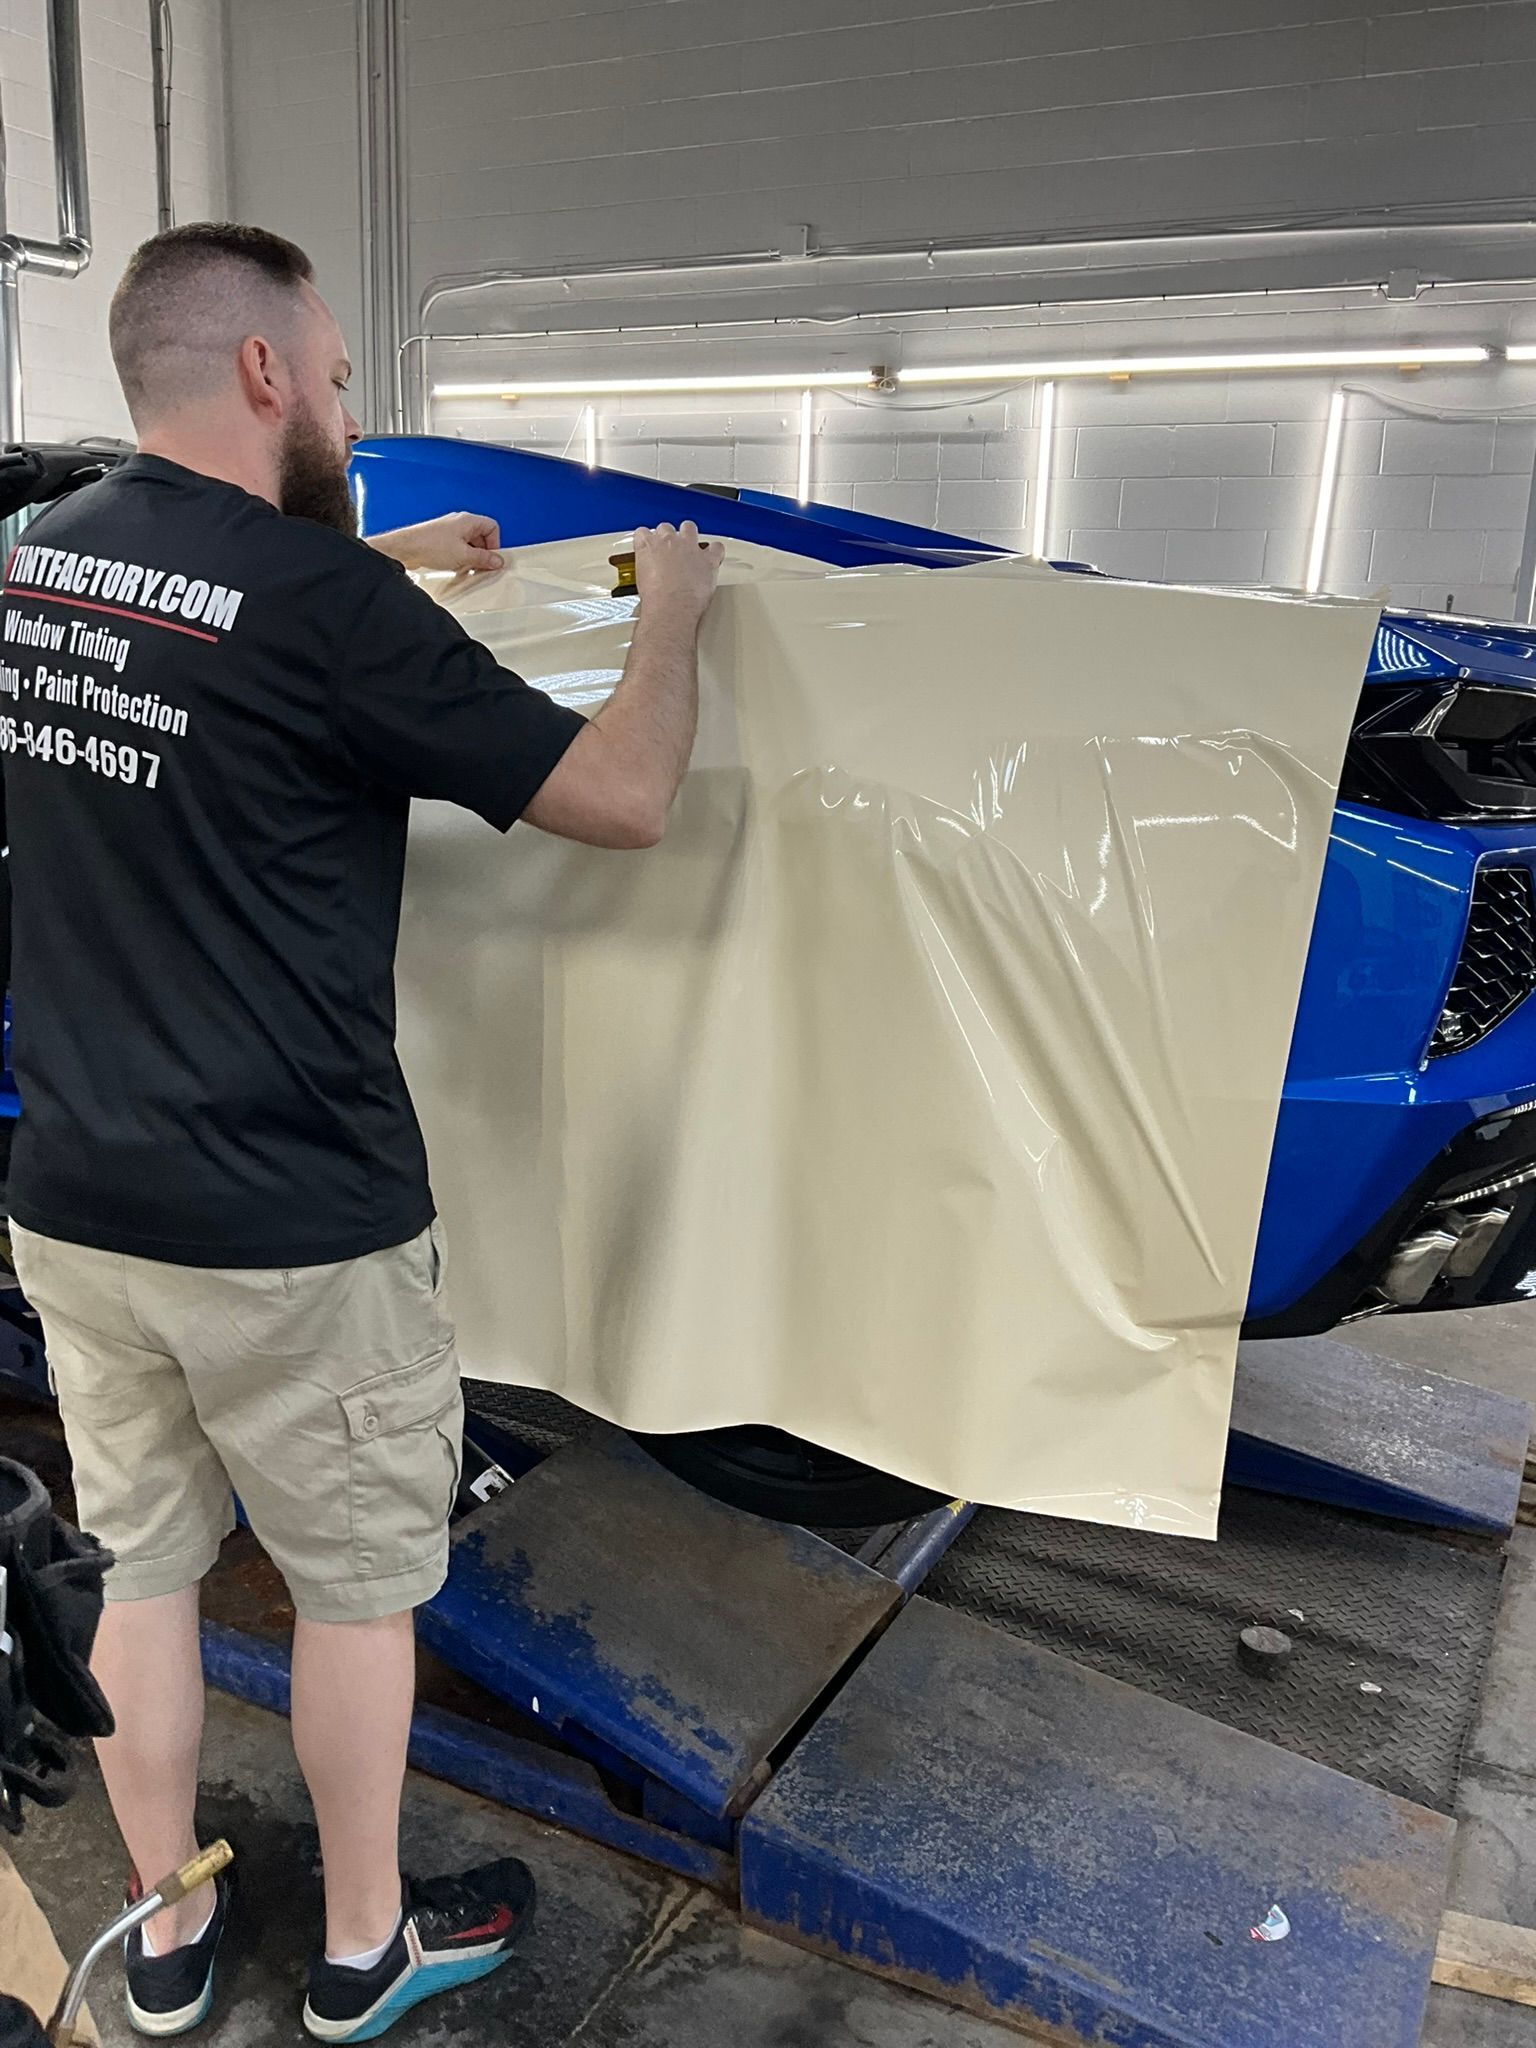
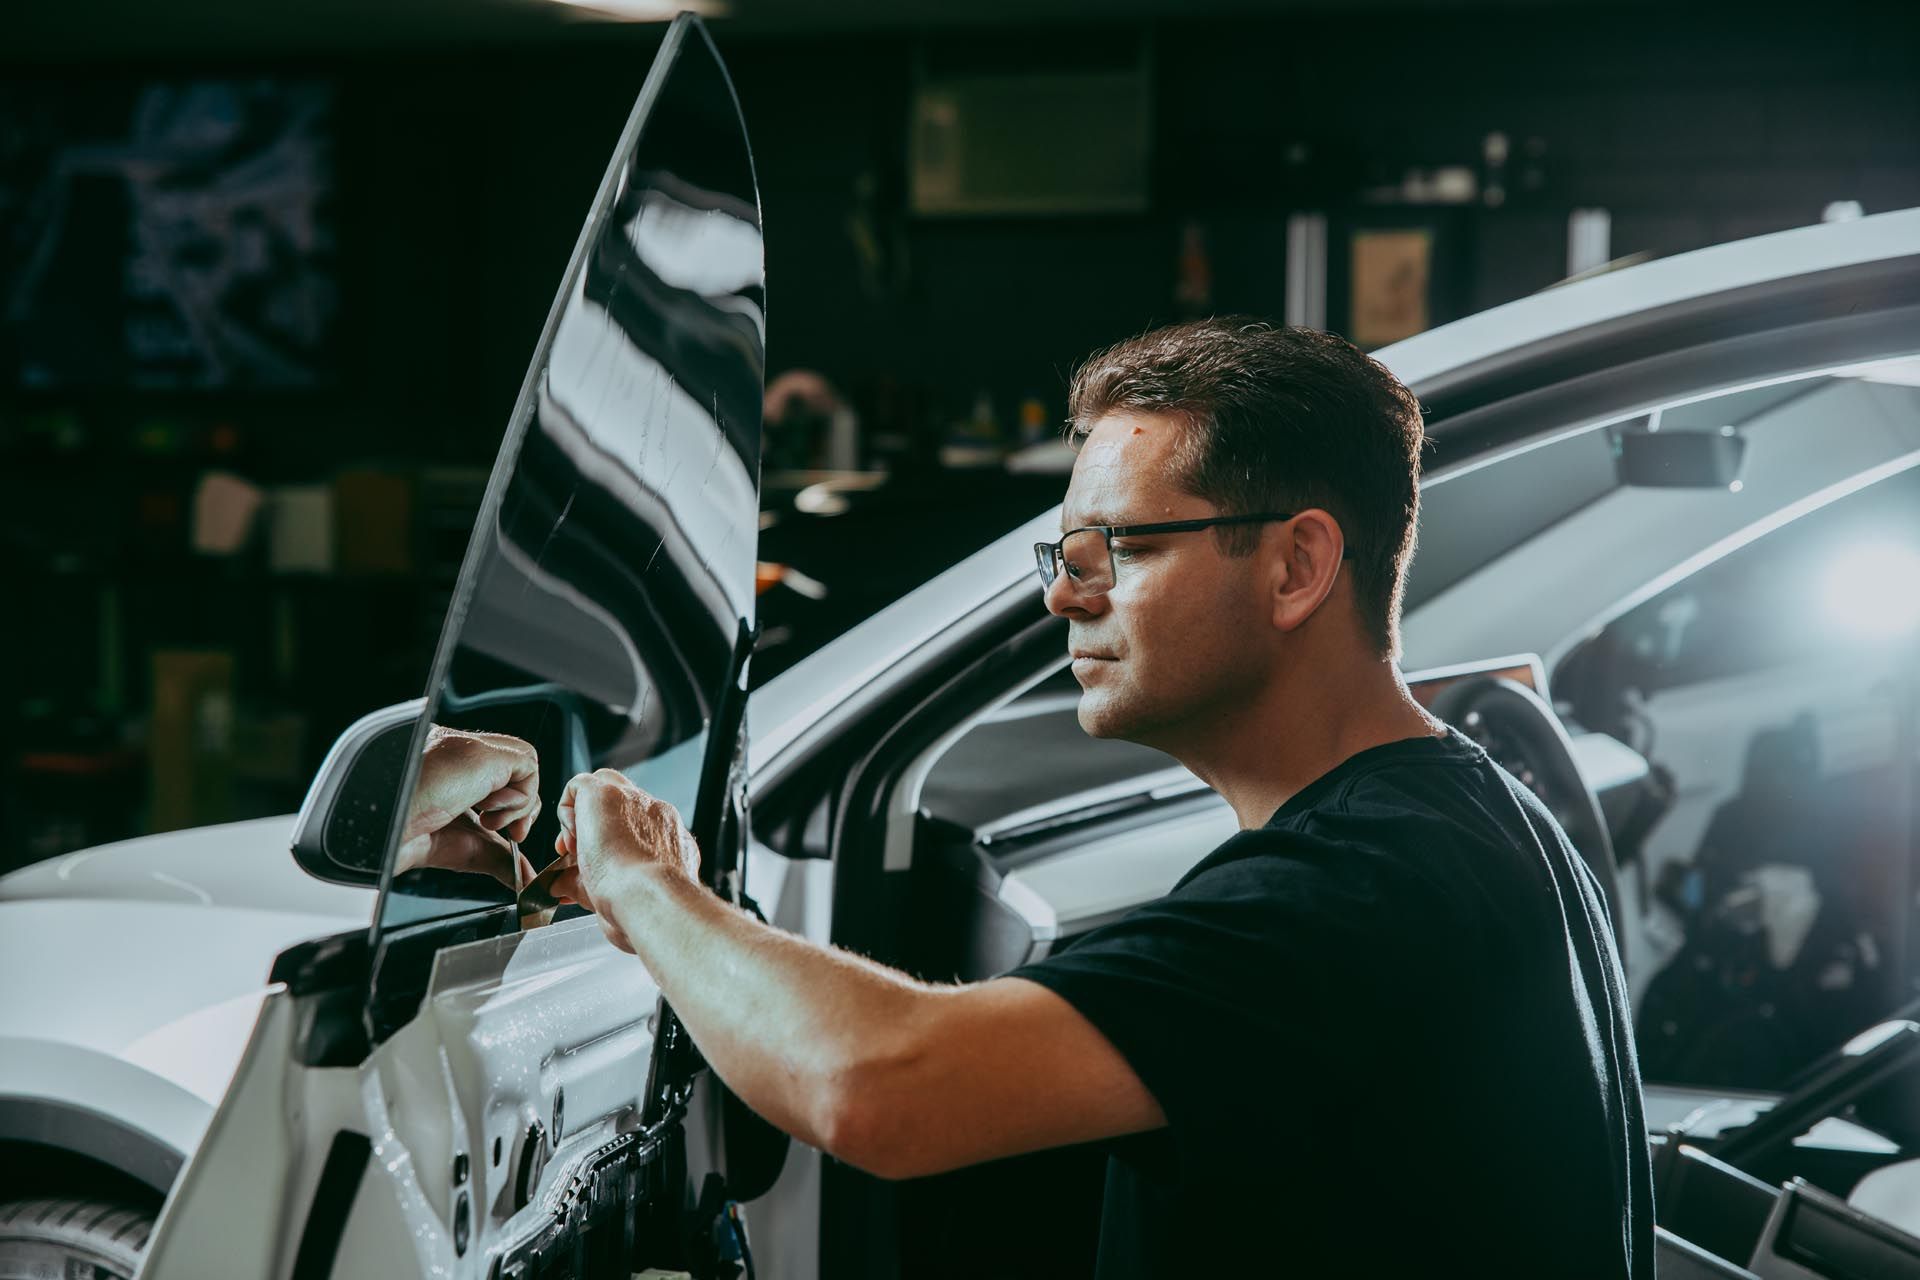
Let’s start with the benefits of hiring a professional. Experienced installers have the right tools, materials, and techniques to apply the film smoothly and precisely. They know how to avoid common problems like air bubbles, misalignment, and peeling edges. Plus, many professional services offer warranties — so if something goes wrong, you’re covered.
On the flip side, DIY installations often lead to frustration. Without the proper environment or expertise, it’s easy to trap dust, create uneven application, or stretch the film too much. Bubbles form when the adhesive doesn’t bond well, and peeling happens when the edges aren’t sealed properly. These mistakes can ruin the look of your tint and shorten its lifespan.
If you’re serious about quality and durability, investing in a professional installation is often the smarter choice. It saves you time, effort, and the cost of fixing mistakes. Up next: how giving your tint enough time to cure can make all the difference!
Proper Application Techniques
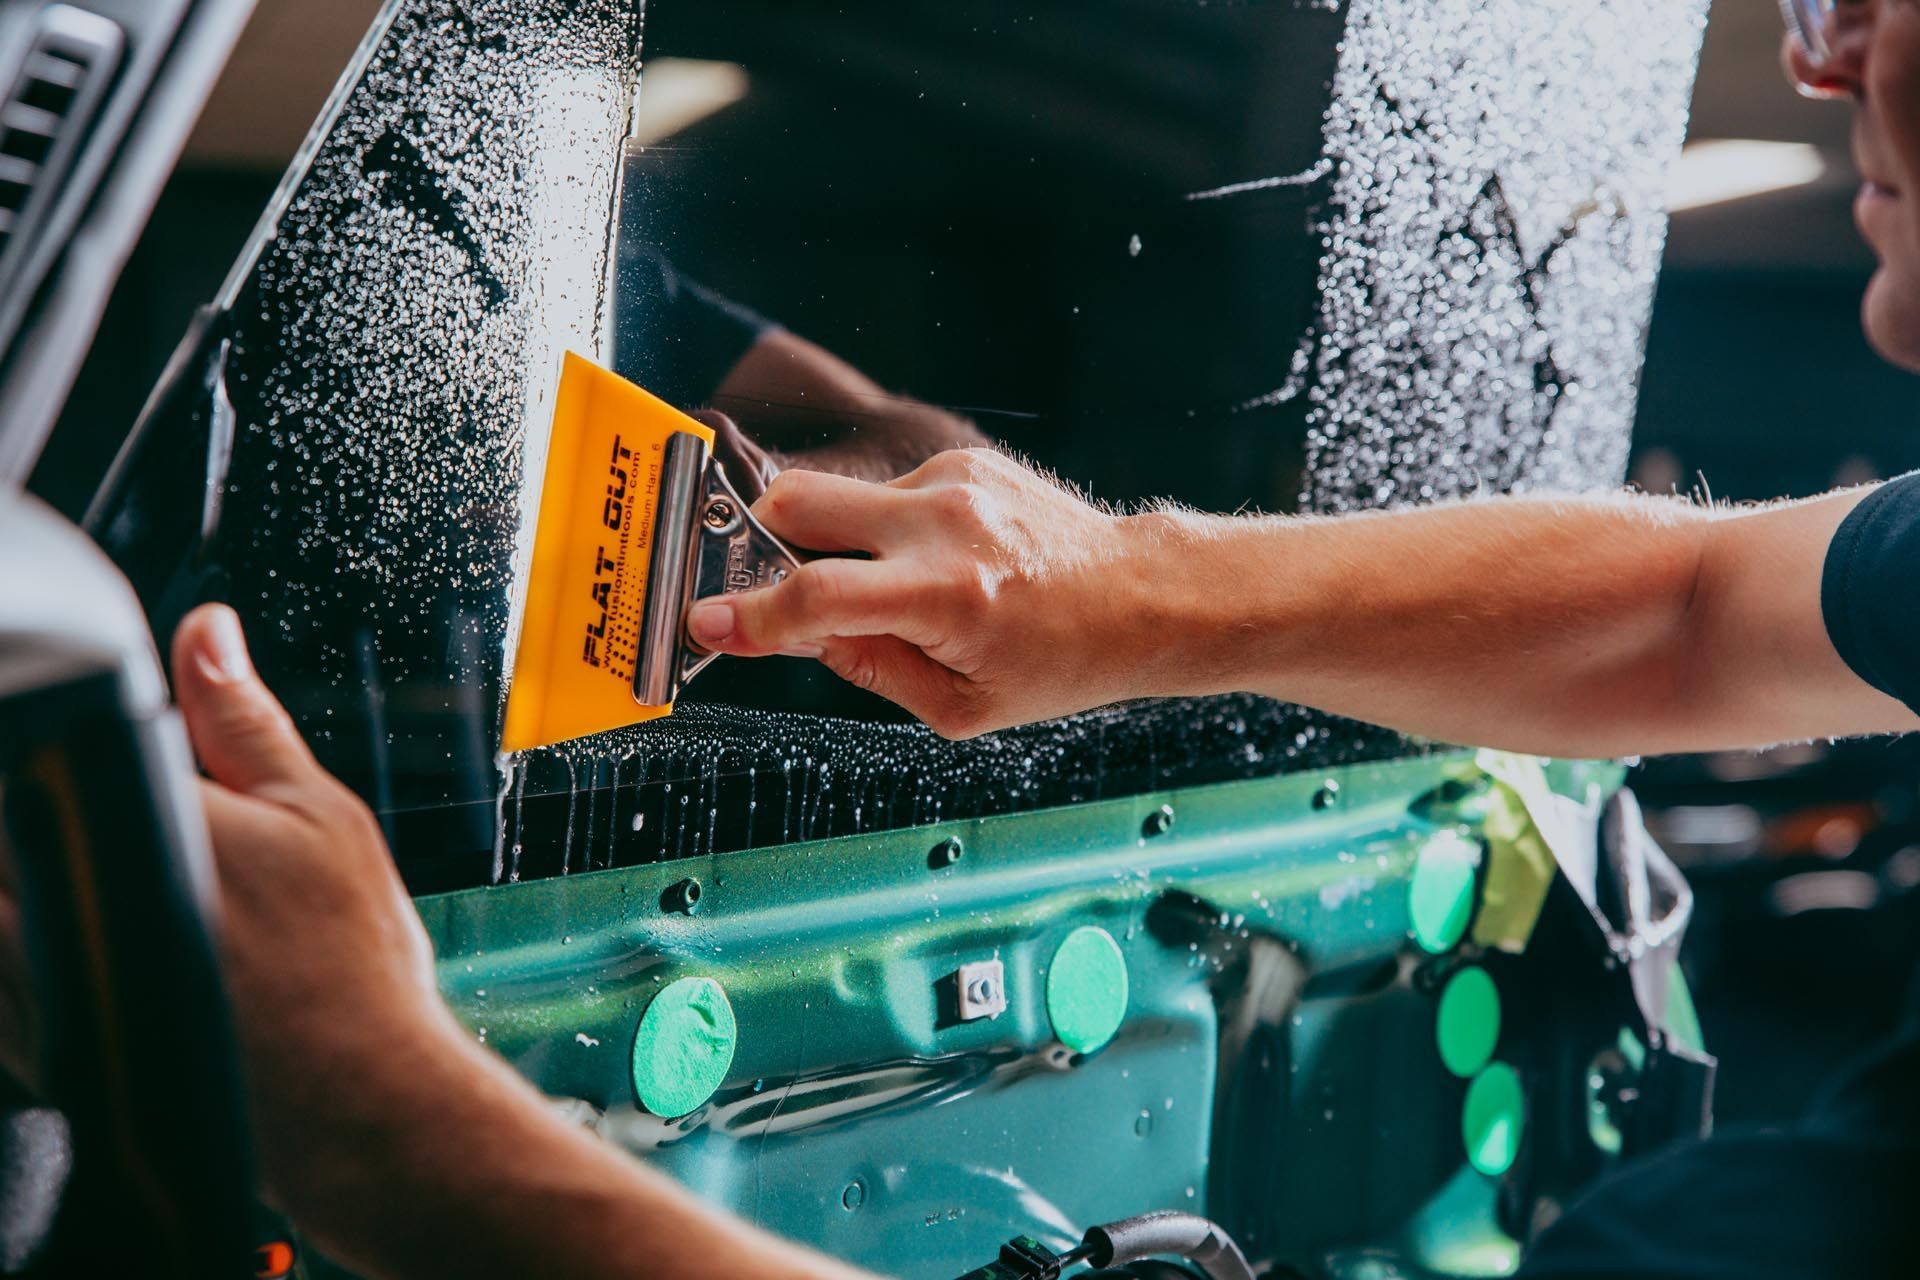
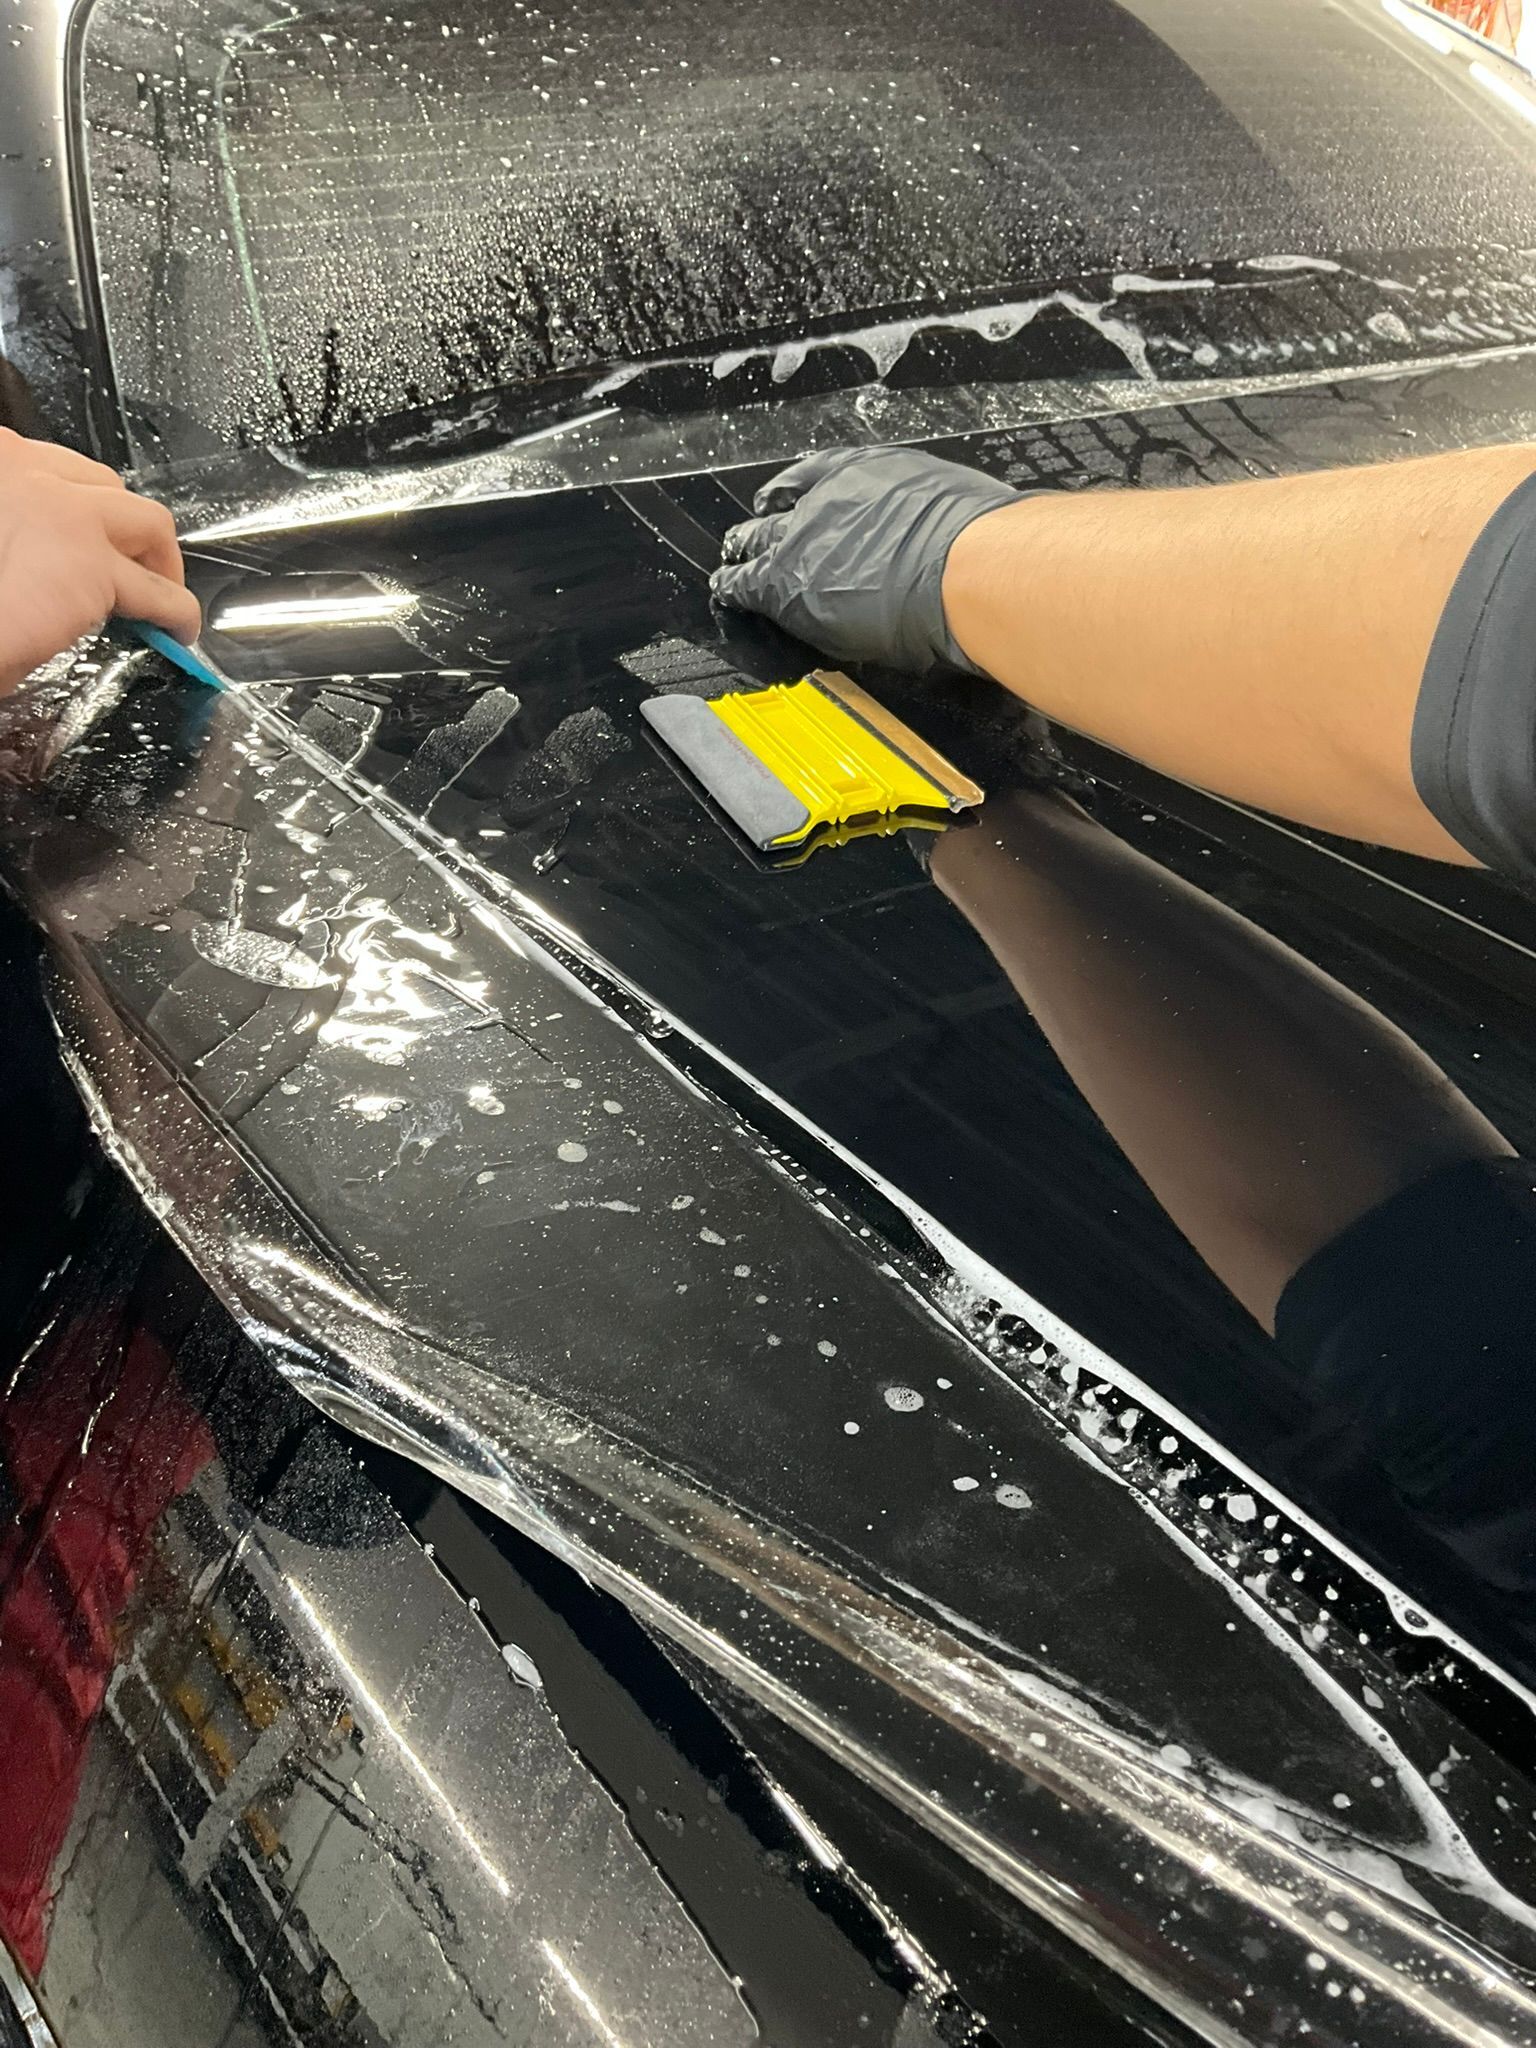
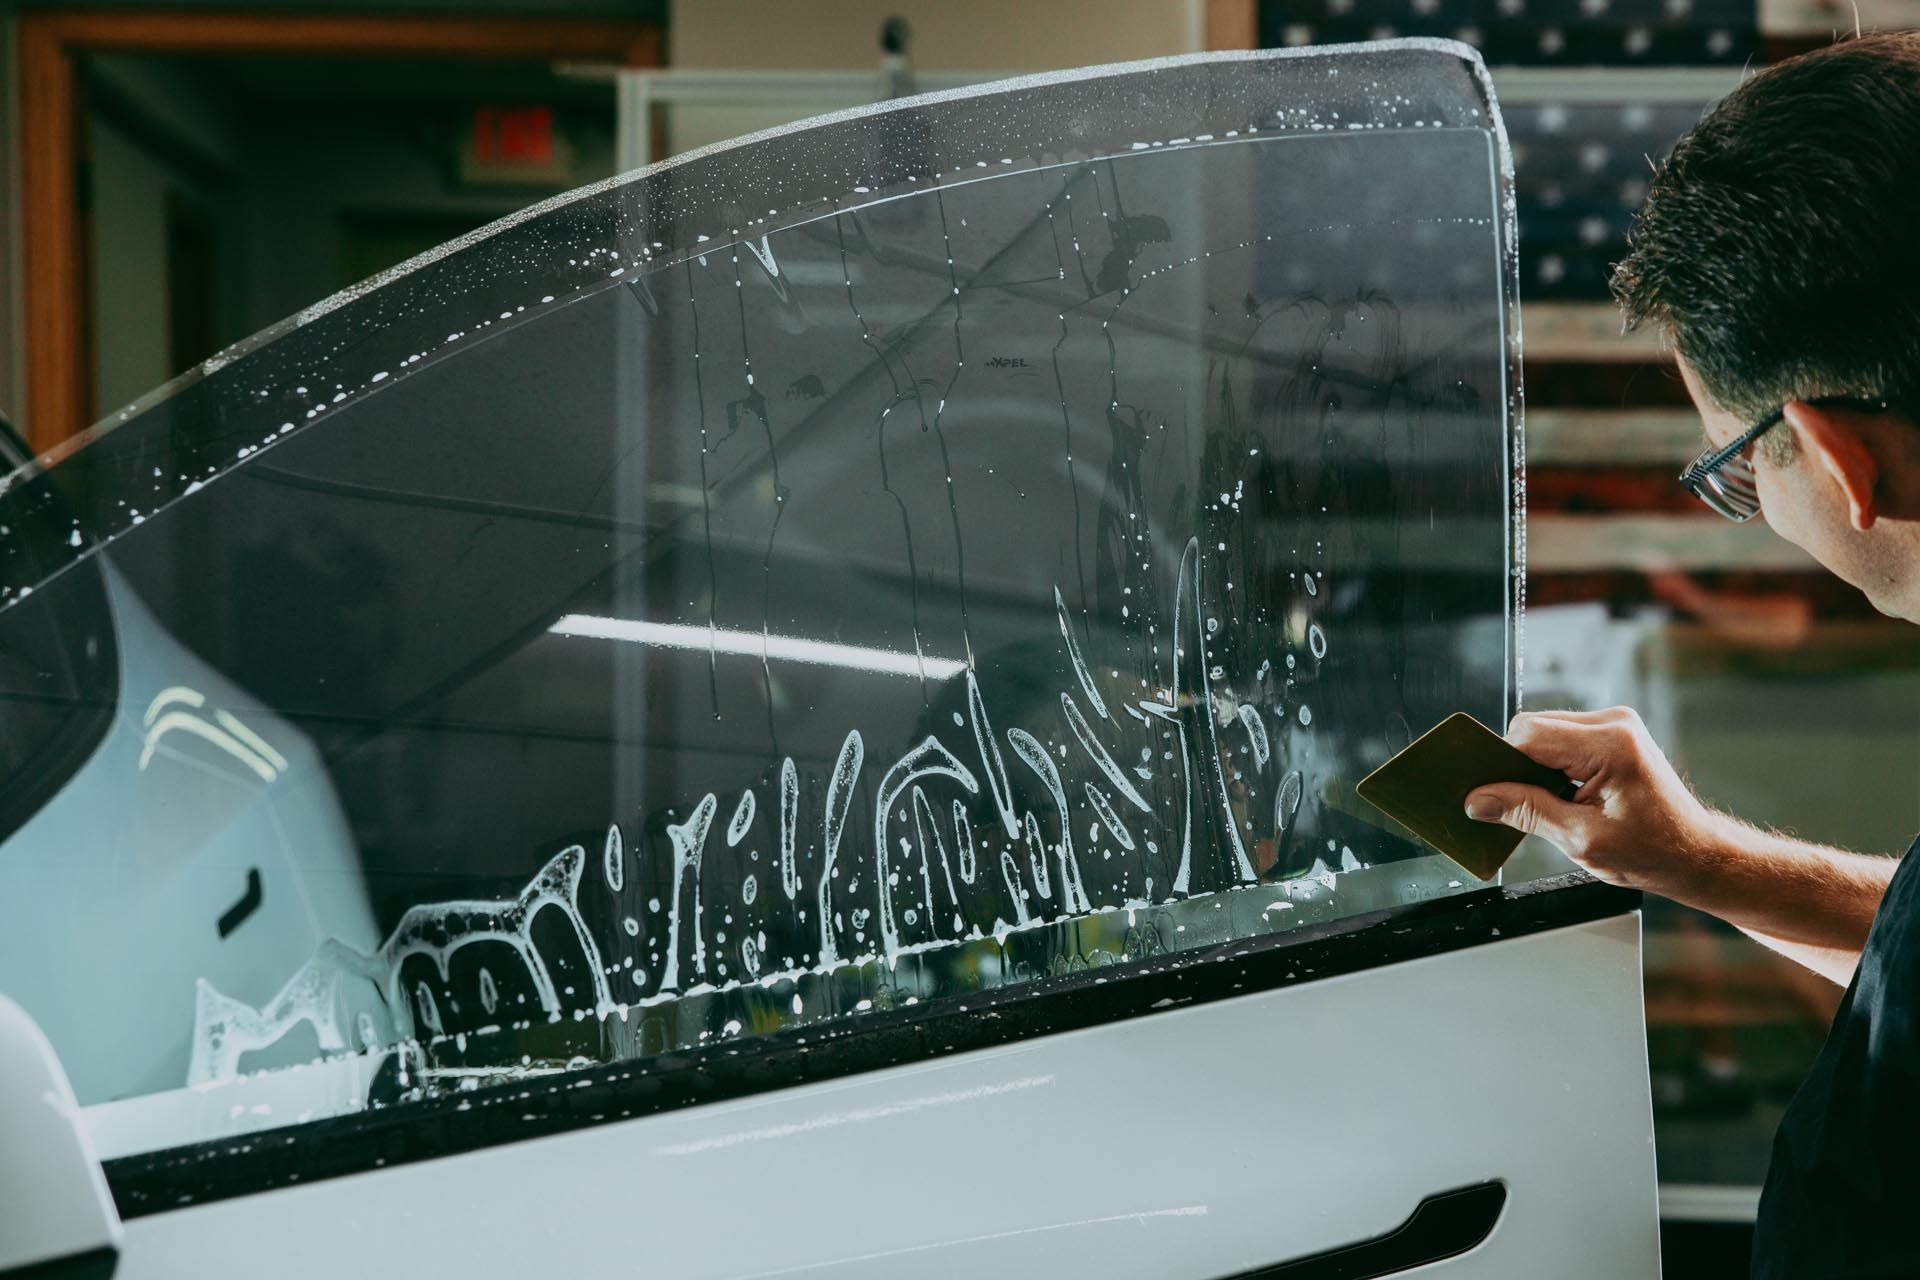
Applying window tint isn’t just about sticking a film onto glass — it’s an art. And like any art, the right technique makes all the difference. One of the most crucial tools in this process? The squeegee. It’s not just for smoothing — it’s your best defense against air bubbles and poor adhesion.
A steady, firm hand with the squeegee ensures the film lays flat and bonds evenly. Start from the center and push outward in smooth, overlapping strokes. This method forces out air and moisture, reducing the chance of those annoying bubbles popping up later. Rushing this step? That’s where things go south. Uneven pressure or skipping sections leaves pockets of air trapped beneath the film, leading to bubbles that ruin both appearance and durability.
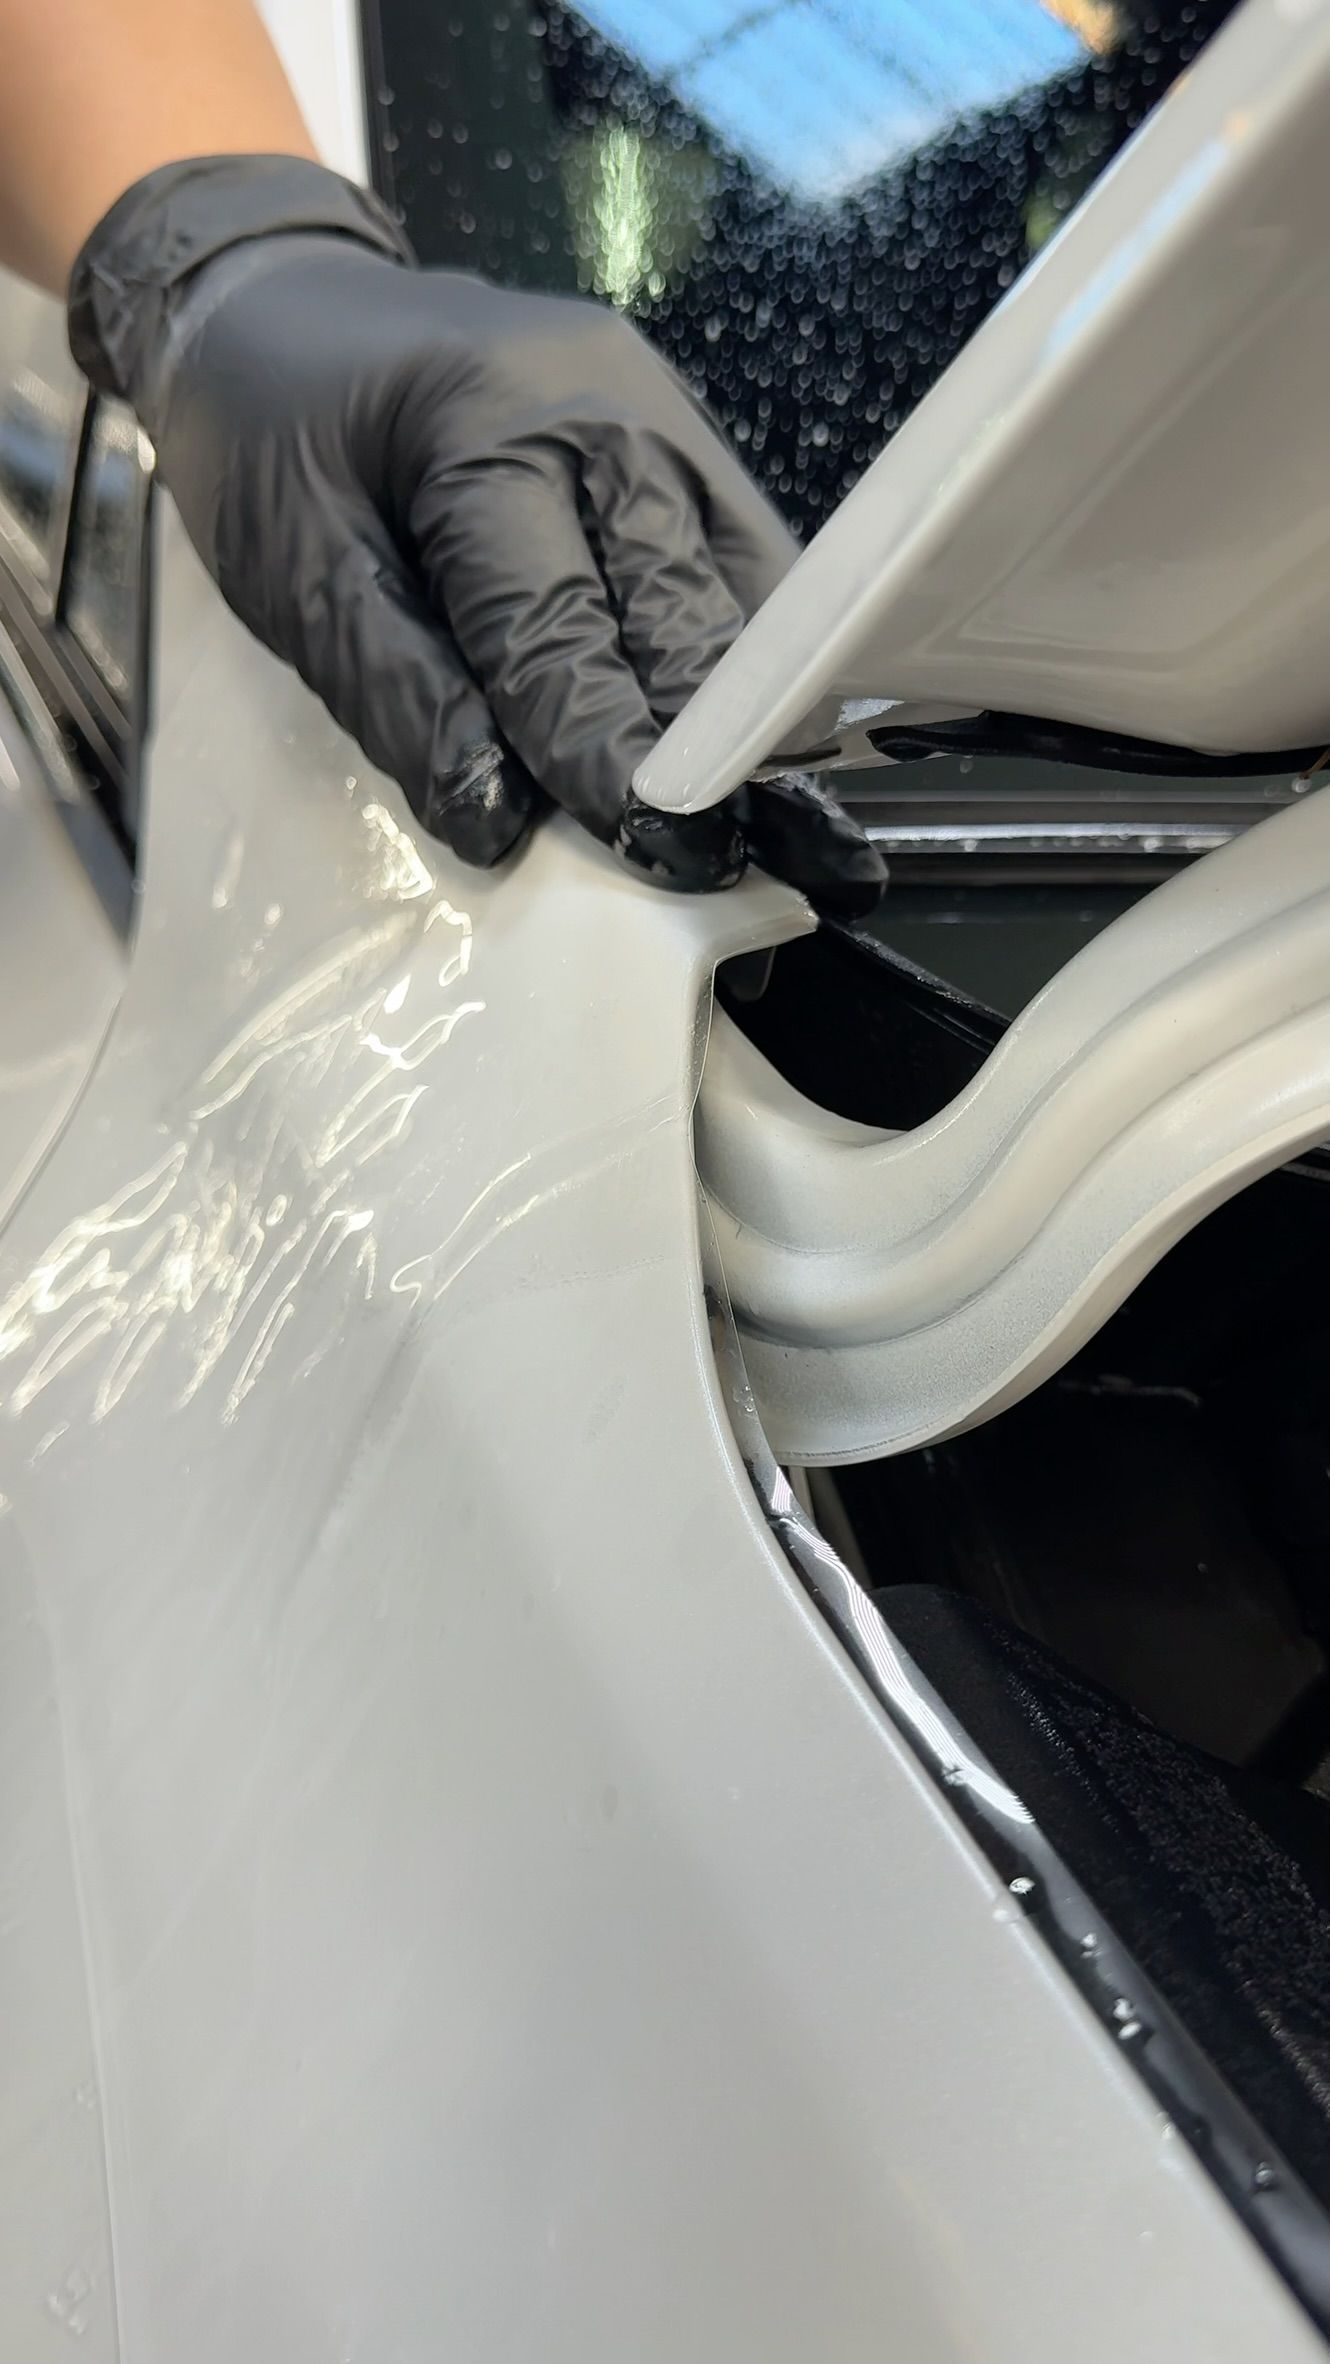
Another common mistake? Stretching the tint too much during application. It might seem like a good way to get a tight fit, but it weakens the film and makes peeling more likely over time. Patience and precision win the day here.
When done right, proper application techniques create a flawless finish that lasts. Next, we’ll dive into why curing time is so important — and why rushing it could undo all your hard work!
Curing Process
Patience is everything when it comes to window tinting — and the curing process is where it really counts. Once the tint is applied, it needs time to properly bond to the glass. Skip this step, and you’re almost guaranteed to see bubbles, peeling, and an overall uneven finish. Nobody wants that!
So why is curing so important? It allows any remaining moisture trapped between the tint and the window to evaporate completely. This is what creates that smooth, crystal-clear look. If you roll down your windows too soon or expose them to extreme weather, the film can shift, wrinkle, or lose its adhesion.
How long should you wait? It depends on the climate. In warm, dry conditions, the tint may cure in just a few days. But in cooler or more humid environments, it can take up to a few weeks. A good rule of thumb is to wait at least three to five days before rolling down your windows and avoid heavy cleaning during that period.
Letting your tint cure properly makes all the difference in durability and appearance. Up next, we’ll explore the importance of regular maintenance and care to keep your tint looking great for years to come!
Maintenance and Care
Taking care of your tinted windows isn’t just about keeping them looking sleek — it’s about making sure they last. Neglecting proper maintenance can lead to peeling, scratches, and those dreaded bubbles you worked so hard to avoid. The good news? A little care goes a long way!
First off, cleaning matters — a lot. Using harsh chemicals or abrasive tools can damage the tint, breaking down the adhesive and causing it to lift. Stick to gentle, ammonia-free cleaners and soft microfiber cloths. This keeps your tint spotless without risking scratches or peeling.
Timing is just as important. Wait until the tint has fully cured before cleaning — that’s usually around a week or two. Cleaning too soon can disrupt the bonding process, leading to uneven adhesion.
And here’s a pro tip: avoid sharp objects or rough scrubbing. Even small nicks can expand over time, making the film vulnerable to peeling. Treat your tinted windows with care, and they’ll stay smooth, clear, and bubble-free for years.
Next, we’ll dive into why routine inspections and quick fixes are key to long-lasting, flawless window tinting!
Identifying and Addressing Early Signs of Damage
Spotting issues early can save your window tint — and your wallet. Air bubbles, peeling edges, or slight discoloration may seem minor at first, but they’re often warning signs of bigger problems ahead. The sooner you catch them, the better!
So, what should you watch for? Bubbles are the most obvious. Tiny pockets of air trapped under the film not only ruin the look but weaken the adhesive over time. Peeling usually starts at the edges and can spread fast if left unchecked. Discoloration — like a purple hue — often signals poor-quality film breaking down from sun exposure.
When you notice these signs, act quickly. Small bubbles can sometimes be smoothed out with gentle pressure and a heat gun, but if they persist, it’s best to consult a professional. For peeling edges, avoid tugging at the film — that will only make it worse. Instead, get expert help to reapply or replace the affected area.
Addressing problems early keeps your tint looking flawless and extends its lifespan. Up next, we’ll wrap things up with why attention to detail and proper care make all the difference in avoiding air bubbles and peeling!
Importance of Post-Installation Inspections
Once your window tinting is done, don’t just admire it and call it a day—inspect it! A thorough post-installation check is crucial to ensure the film adheres properly and looks flawless from the start. Skipping this step could mean missing small imperfections that turn into bigger problems later.
So, why is this so important? Catching issues like tiny air bubbles, misalignment, or slight peeling early makes them easier to fix. Newly applied tint needs time to cure, but some signs of poor application—like large bubbles or uneven edges—shouldn’t wait.
Take a close look in good lighting. Are there any gaps between the film and the window’s edge? Do you see any dust or debris trapped under the tint? If anything seems off, address it right away. Many professional installers offer warranties, so it’s better to bring up concerns sooner rather than later.
A careful inspection sets the tone for how well your tint will hold up over time. By spotting and fixing minor issues early, you’re investing in a smooth, long-lasting finish. Next up, we’ll tie everything together and show why every step—from prep to inspection—matters in avoiding bubbles and peeling!
Conclusion
Avoiding air bubbles and peeling in window tinting isn’t just about making your car look good—it’s about doing things right from start to finish. Throughout this article, we’ve explored the key factors that lead to these frustrating issues and, more importantly, how to prevent them. From choosing high-quality tinting materials to ensuring proper surface preparation and applying the film in the right environment, every step plays a critical role in the final outcome.
One of the biggest takeaways? Patience and attention to detail make all the difference. Rushing through the application process or skipping essential steps like cleaning the windows or allowing the tint to cure properly often leads to the very problems you want to avoid. Professional installation can save you from these headaches, offering expert techniques and a flawless finish that lasts. But if you decide to go the DIY route, using the right tools and following best practices is essential.
Let’s not forget the importance of post-installation care. Regular maintenance, gentle cleaning, and early damage detection help keep your tint looking pristine and performing well for years. A little effort now saves you from costly repairs or replacements later.
In the end, high-quality window tinting enhances your car’s style, comfort, and privacy. By following the guidelines we’ve discussed, you’ll avoid common pitfalls like air bubbles and peeling—ensuring a sleek, durable finish that stands the test of time. So take your time, do it right, and enjoy the benefits of perfectly tinted windows!