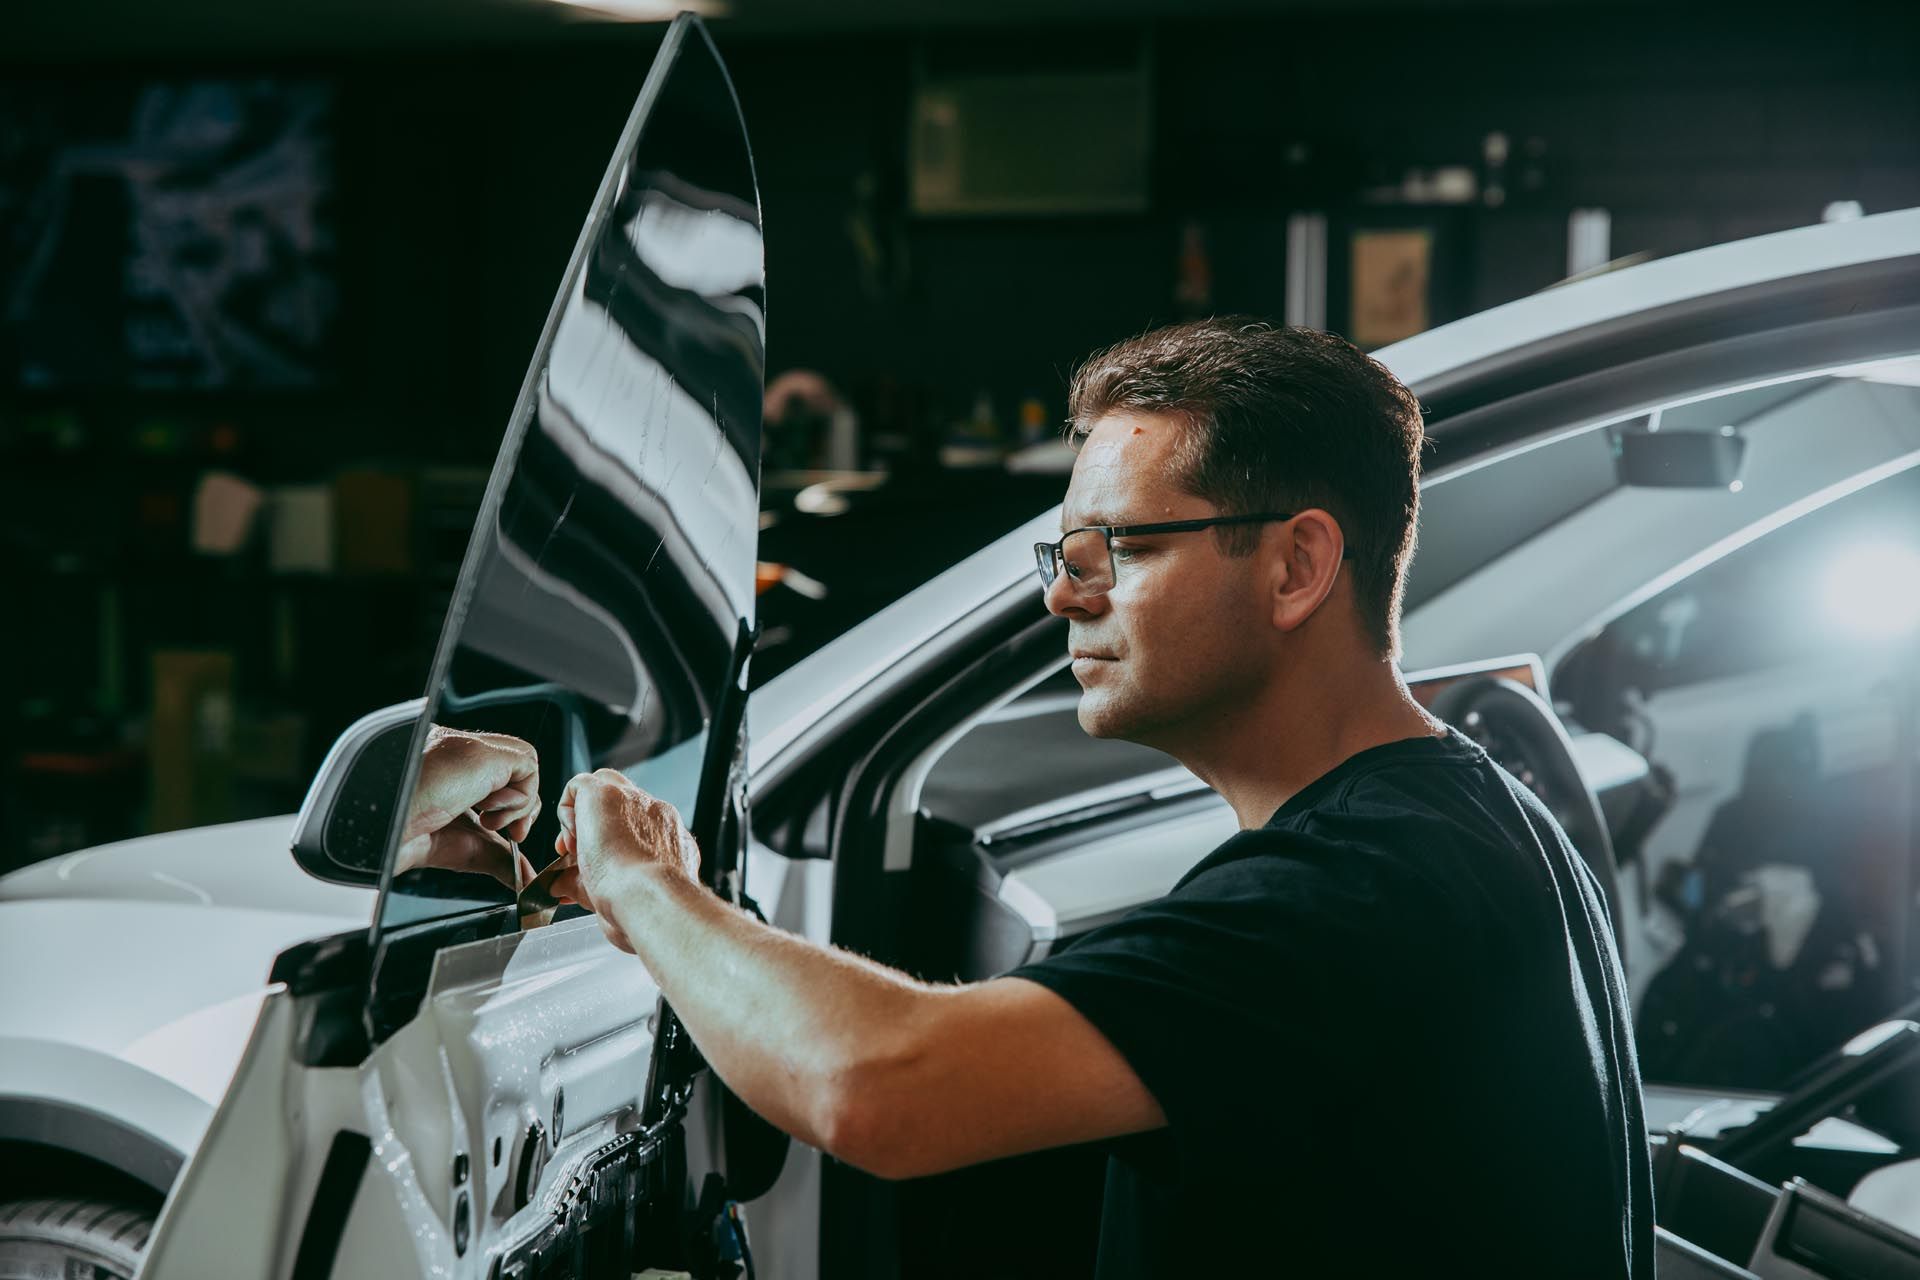
Why Would You Want to Remove Window Tint?
Let’s be real—window tint doesn’t last forever. Over time, even the highest-quality films can start to show their age. If your tint has begun bubbling, peeling at the edges, or turning that dreaded purplish hue, it’s probably doing more harm than good. What used to look sleek and clean now just screams “fix me!”—and that’s where removal comes in.
One of the most common reasons people decide to remove tint is discoloration. This often happens when the tint has been exposed to the sun for too long, especially if it was a cheaper film. Not only does it look bad, but it also stops doing its job—blocking UV rays and heat.
Poor installation is another big one. If you’ve ever had a tint job done that left gaps, bubbles, or wrinkles, you know how frustrating that can be. And then there’s the legal side of things—local laws change, and your tint may no longer be within the legal limit for visible light transmission.
Whether it’s for cosmetic reasons, compliance, or just because you want a fresh start with a residential window tint or commercial window tint upgrade, removal is sometimes the smartest move. And guess what? It’s easier than you might think.
What Tools and Materials Do You Need for DIY Tint Removal?
Ready to take on that DIY window tint removal project? Awesome! But before you dive in, you’ll want to make sure you’ve got the right tools and materials on hand. Trust me—having the proper setup makes the process smoother, faster, and way less frustrating.
First up, grab a heat gun or a steamer. These are your best friends when it comes to loosening the adhesive holding the tint in place. No steamer? No problem—a hairdryer on high heat can work in a pinch.
Next, you’ll need ammonia or soapy water (some pros swear by a mix of both) to help break down that sticky residue left behind. Just be sure to work in a well-ventilated area, especially if you’re using ammonia.
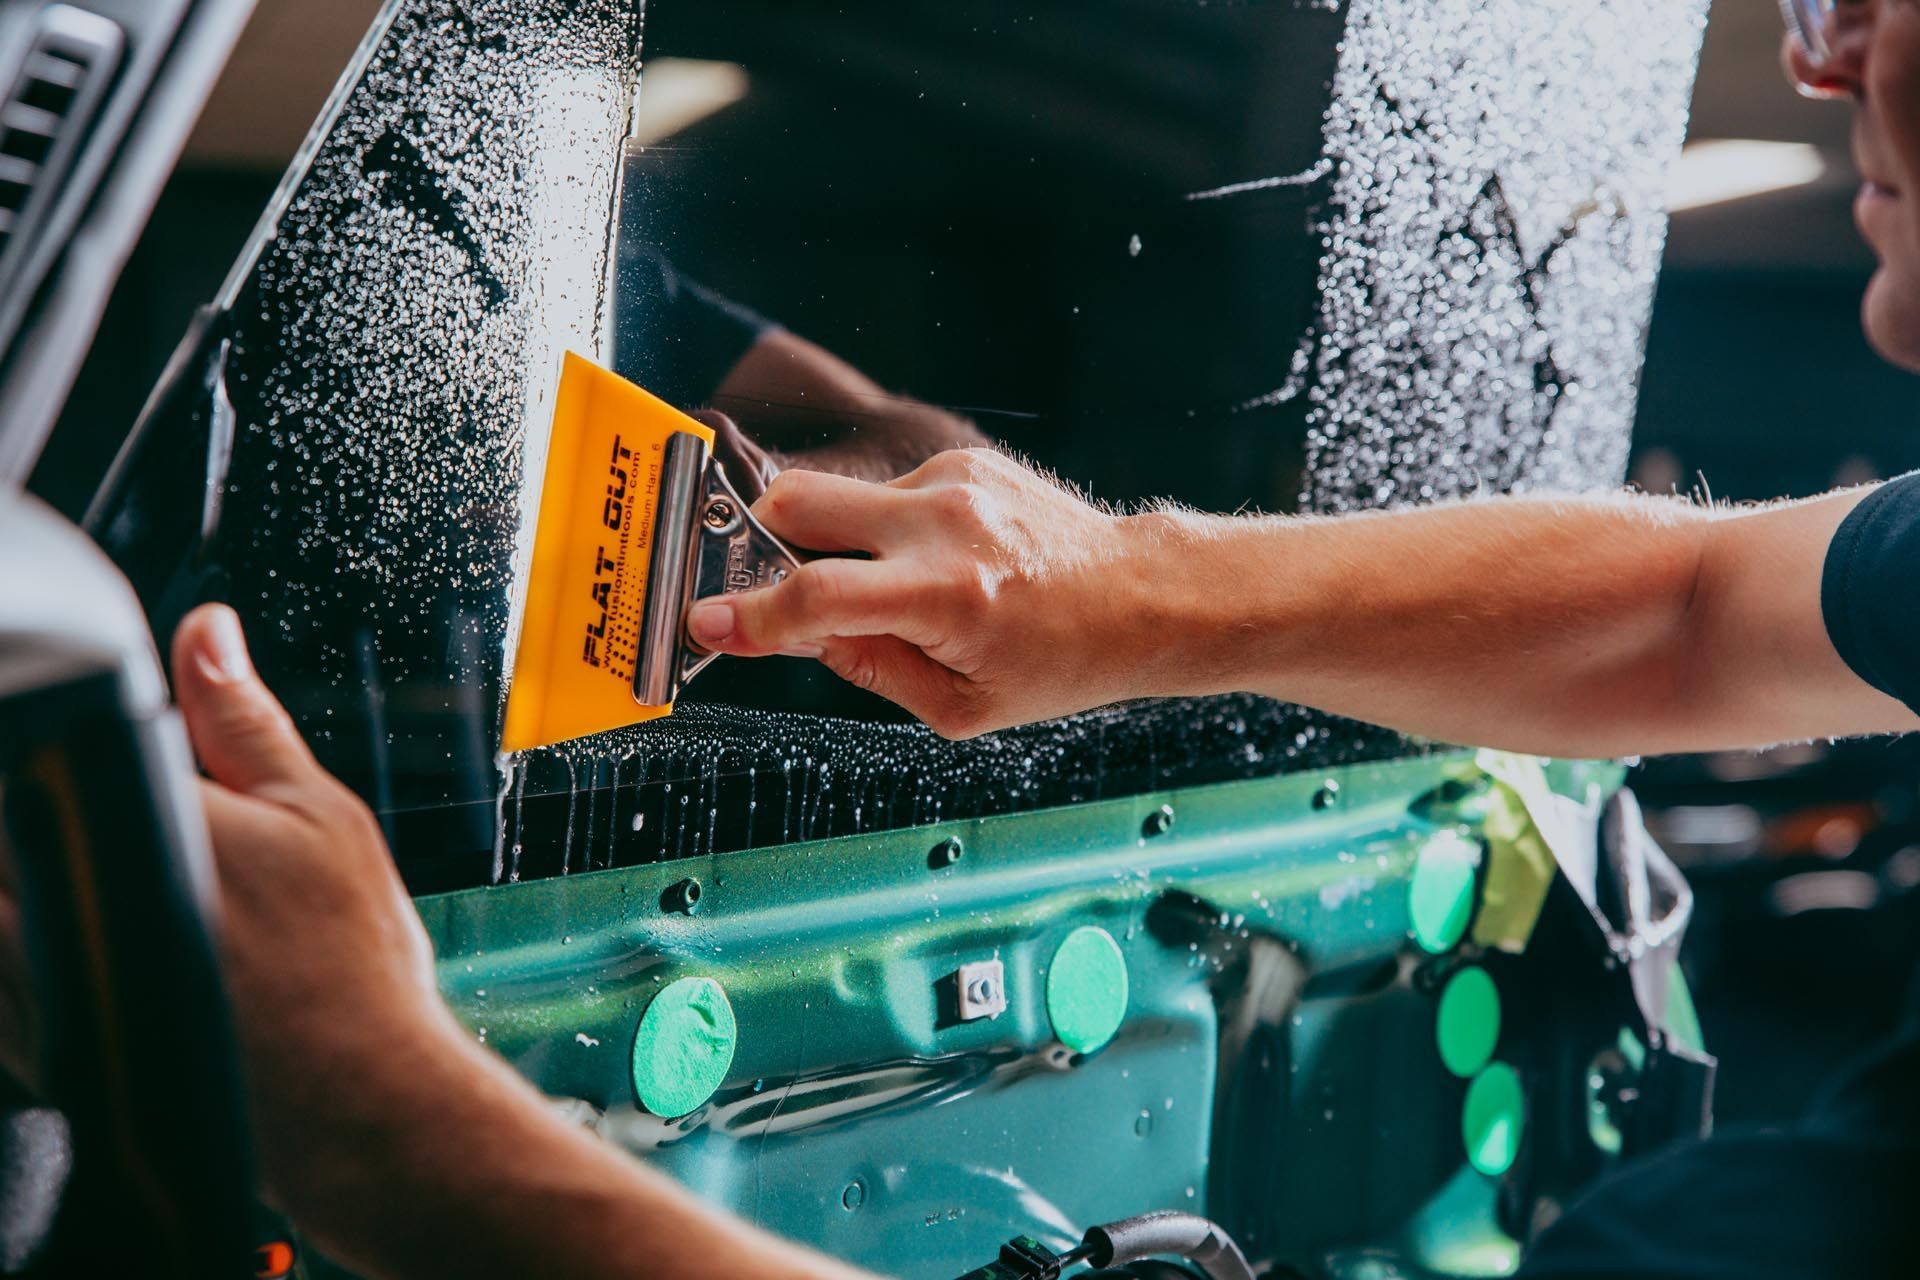
Now for the muscle: a good razor blade or scraper is key to peeling off the tint cleanly. Go for one with a handle to keep your fingers safe and steady.
Once the film is off, follow up with adhesive remover to get rid of any leftover glue, and wipe everything down with microfiber cloths for a streak-free finish.
Oh—and don’t forget safety gear! A pair of gloves and goggles can save your skin and eyes from harsh chemicals or tiny glass shards.
With the right tools in your kit, you’re one step closer to a clean, fresh start—whether you’re prepping for a new residential window tint or upgrading your commercial window tint setup.
How Should You Prepare Your Workspace and Vehicle?
Before you start peeling and scraping away that old window tint, it’s crucial to get your workspace and vehicle properly set up. Trust me—preparation is half the battle, and doing it right can save you from a ton of headaches later on.
First things first, choose the right location. You’ll want to work in a shaded, well-ventilated area. Direct sunlight can cause cleaning solutions like ammonia to evaporate too quickly, and poor ventilation can trap strong fumes inside your car or garage. A carport, garage with an open door, or even a shaded driveway works great!
Next, give your windows a quick clean. Dust, dirt, and debris can interfere with the tint removal process, especially when using heat or adhesive removers. A simple wipe-down with soapy water or glass cleaner will do the trick.
Don’t forget to protect your interior! Lay towels or plastic sheets over door panels, dashboards, and seats—anywhere that might get sprayed or splashed. This is especially important when using ammonia-based solutions, which can be harsh on upholstery and surfaces.
Lastly, roll down your windows just slightly so you can access the very edges of the film. Having full access to the tint lines will make your removal more precise and way less frustrating.
Setting up your space right makes the whole process safer, cleaner, and more effective—whether you’re preparing for a fresh residential window tint or upgrading your commercial window tint game.
What Are the Different Tint Removal Methods Available?
When it comes to removing old window tint, there’s no one-size-fits-all solution. Different methods work better depending on the tools you have, the type of tint, and even the weather. Let’s break down the most popular techniques so you can pick what suits you best!
Heat and Peel Method
This is one of the most straightforward options. You use a heat gun or even a hair dryer to warm up the tint. As the adhesive softens, you gently peel the film off using a razor blade or your fingers. It works great for smaller areas and is especially useful if you don’t want to deal with harsh chemicals. Just be patient and keep the heat moving to avoid damaging the glass or surrounding trim.
Steam Method
Using a clothing steamer is surprisingly effective—and less messy! The steam penetrates the film and loosens the glue underneath, making it easier to lift the tint in larger sections. This method is ideal for bigger windows or rear windows with defrost lines since it’s gentler and less likely to cause damage.
Ammonia and Plastic Bag Method
This classic technique involves spraying ammonia on the tint, then pressing a plastic bag against it and letting it sit in the sun. The heat bakes the ammonia into the film, loosening the adhesive. It’s powerful but a bit smelly, so good ventilation and surface protection are a must. It’s great for more stubborn residential window tint jobs.
Each method has its pros and cons, but the key is choosing the one that works best for your specific situation. Whether you’re working on a car or planning to upgrade your commercial window tint, knowing your options gives you a serious head start!
How to Use the Heat and Peel Method Properly
The heat and peel method is a go-to favorite for DIYers removing window tint—and for good reason. It’s effective, simple, and requires minimal tools. But like any project, technique matters. Done right, you’ll have clean, tint-free windows. Done wrong, and you might be stuck scraping stubborn glue or—worse—damaging your defroster lines. So let’s do it the right way!
Step 1: Gather Your Tools
You’ll need a heat gun or hair dryer, a razor blade or plastic scraper, and a steady hand. Microfiber cloths and glass cleaner also come in handy for cleanup.
Step 2: Heat the Tint
Turn on your heat source and begin warming a corner of the tint from about 2–3 inches away. Move the heat in slow circles to evenly soften the adhesive underneath. Avoid holding the heat in one spot too long—it can crack the glass or melt nearby materials.
Step 3: Start Peeling
Once warm, use your fingernail or scraper to gently lift the edge of the film. Slowly peel it back while continuing to apply heat just ahead of where you’re pulling. This keeps the adhesive soft and reduces tearing.
Step 4: Watch Those Defroster Lines
Be extra gentle around defroster lines, especially on rear windows. Use a plastic scraper instead of metal near those delicate areas to avoid damage.
Step 5: Clean Off Residue
After the film is off, you’ll likely see some leftover adhesive. Spray on adhesive remover or soapy water and wipe clean with a microfiber cloth.
That’s it! If you take your time, the heat and peel method can work wonders—whether it’s on residential window tint, commercial window tint, or your personal ride. Let’s keep going!
What’s the Best Way to Remove Leftover Adhesive?
So, the tint is off—yay! But now you’re staring at a sticky mess. That leftover glue can be stubborn, and if you don’t handle it the right way, it can smear, scratch, or worse, damage your window. Don’t stress, though. There are tried-and-true methods to tackle adhesive safely and effectively. Let’s break it down!
Start With the Right Cleaner
There are a few solid options to dissolve adhesive without harming your glass. You can use an ammonia-based cleaner, a commercial adhesive remover like Goo Gone, or even a homemade mix of soapy water and vinegar. Just spray generously on the residue and let it sit for a few minutes to soften the gunk.
Scrape Gently, Not Aggressively
Use a plastic scraper or a razor blade (carefully!) held at a low angle to avoid scratching the glass. Never dig into the glass or rush through this part—slow and steady wins the clean-window race.
Wipe and Repeat
After scraping, wipe down the area with a microfiber cloth. You might need to repeat the spray-scrape-wipe process a couple of times for tough spots. And yes, it’s a bit of elbow grease—but it’s worth it!
Avoid These Common Mistakes
Never use metal scrapers on rear defroster lines. It’s tempting, but that’s a quick way to damage them. Also, avoid abrasive pads or harsh chemicals not meant for auto or building glass.
Whether it’s residential window tint, commercial window tint , or your car windows, finishing the job with a crystal-clear surface makes all the difference. Almost there—let’s keep going!
How to Handle Rear Windows and Defroster Lines with Care
When it comes to removing tint from rear windows, there’s one area that requires special attention: the defroster lines. These thin, metallic lines run across your window to help clear fog and ice, and while they’re incredibly useful, they’re also quite delicate. Damaging them during the tint removal process is a nightmare you definitely want to avoid!
Why Are Defroster Lines Important?
Defroster lines are integral to keeping your rear window clear in cold or wet weather. If these lines are scratched or, worse, torn, you could end up with a non-functioning defroster, which isn’t just inconvenient—it could be dangerous.
The Risks of Tint Removal on Rear Windows
Removing window tint from rear windows is tricky because the tint film usually adheres closely to the defroster lines. When you’re scraping the adhesive or pulling off the film, there’s a real risk of damaging these lines. One wrong move, and you could break the thin heating elements.
How to Remove Tint Safely Around Defroster Lines
When removing tint from rear windows, use a gentle touch. Start by heating the tint slowly with a heat gun or hairdryer, but be cautious—don’t overheat the area near the defroster lines. The key here is to avoid putting too much pressure on those lines when peeling or scraping. Using a plastic scraper instead of a metal blade is essential, as it’s less likely to cause damage.
Patience is Key
Don’t rush the process! Carefully peel the film from top to bottom, staying far away from the defroster lines. If you feel resistance, it’s better to reheat the area than to force the film off.
With these tips in mind, your rear window and defroster lines will stay in perfect condition, and you’ll avoid costly repairs. Whether you’re dealing with residential window tint or commercial window tint, the approach remains the same—handle with care!
How Long Does the DIY Process Take?
Removing window tint yourself is no small task, and it’s important to set realistic expectations when it comes to how much time you’ll need. The process can take anywhere from a few hours to a full day, depending on several factors. Let’s break down what could influence the duration of your DIY tint removal project.
Number of Windows
The more windows you have, the longer the job will take. Removing tint from just one or two windows can typically be done in about 1-2 hours, especially if the tint is already peeling or the window is smaller. However, if you’re dealing with residential window tint on multiple windows or commercial window tint with larger panes, expect the job to stretch a bit longer—potentially up to 4-6 hours or more.
Method Used
The method you choose also impacts the time frame. For instance, the heat and peel method is relatively quick and might only take 30 minutes to 1 hour per window, depending on the film’s thickness and how well it’s adhering. On the other hand, the steam method or ammonia and plastic bag method might take longer since they require you to let the chemicals sit and work on the tint. Allow at least an hour per window for these methods to loosen the adhesive effectively.
Condition of the Tint
Older tints or those that have started to bubble, discolor, or peel already are generally easier to remove. If the tint is intact and firmly stuck, it will take more time to scrape off without damaging the glass. Also, be prepared for additional time to clean up any leftover adhesive, which could add another hour or so to your total.
Set Realistic Expectations
In general, you can expect to spend anywhere between 2 to 6 hours removing the tint, depending on the complexity of the job. Remember to take breaks to avoid frustration and give yourself plenty of time to do it right. With the right tools and preparation, you’ll get the job done—and feel accomplished in the process!
Common Mistakes to Avoid When Removing Tint
Removing window tint can be a rewarding DIY task, but there are several common mistakes that can turn the process into a headache. Let’s explore the most frequent errors people make and how you can avoid them to ensure a smooth, successful removal.
Rushing the Process
One of the biggest mistakes you can make when removing window tint is rushing through it. Tint removal is a delicate process, and taking your time is crucial. Rushing may lead to incomplete removal, broken glass, or even damaging the window’s defroster lines. Allow the necessary time for heat, steam, or chemicals to loosen the adhesive before attempting to peel the film off.
Using the Wrong Tools
Using the wrong tools can not only make the job harder but can also cause irreversible damage. Avoid using metal scrapers or anything too harsh on the glass, as it could leave scratches or damage the tint layers. Stick to a plastic scraper or razor blade (at a safe angle) to avoid this. Using a heat gun or hair dryer is effective for softening the tint, but make sure to keep it at a distance to prevent overheating the glass.
Scraping Too Hard
It’s tempting to scrape aggressively when the tint isn’t coming off easily, but this can lead to permanent scratches on the glass. Be gentle, and if the film resists, use more heat or steam to loosen it further before scraping. Patience is key here—too much pressure can damage the window or cause the adhesive to become stubborn.
Using Harsh Chemicals on Tint Layers
Certain chemicals, especially industrial-strength solvents or cleaners, can be too harsh on the tinted layer and cause damage. Avoid using bleach, acetone, or anything not specifically formulated for tint removal. Instead, opt for a milder adhesive remover or a DIY solution like soapy water or ammonia. These are effective at dissolving the adhesive without harming the tint or the glass beneath it.
Not Protecting Surrounding Areas
When removing tint, it’s easy to forget to protect the surrounding areas of your car or home. Always cover the interior surfaces, such as the dashboard, door panels, and upholstery, to prevent any damage from steam, heat, or chemicals. Also, be sure to wear gloves and goggles to protect yourself from irritants like ammonia.
Ignoring Local Tint Laws
If you’re removing tint to replace it or to comply with local laws, make sure you understand the regulations before you begin the process. Removing tint can affect how your vehicle is viewed by local authorities, and improper tinting may not be street legal in some areas. Always double-check legal requirements to avoid complications later on.
By avoiding these common mistakes, you’ll ensure a more successful and efficient window tint removal process! Take your time, use the right tools, and always prioritize safety to achieve the best results.
When Should You Consider Hiring a Professional Instead?
While DIY window tint removal can be an enjoyable and cost-effective project for many, there are times when it’s better to call in a professional. Let’s explore some scenarios where professional help is not just a good idea, but the best choice for your car or home.
Luxury Vehicles and High-End Glass
If you’re dealing with a luxury vehicle, expensive glass, or tinted windows with intricate designs, hiring a professional is a wise move. Luxury vehicles often feature delicate finishes and complex tint installations that require specialized care. Professionals have the experience and knowledge to handle these high-end windows without risking scratches or other costly damage. The precision and attention to detail needed for these types of vehicles often surpass what DIY methods can achieve.
Severe Bubbling or Discoloration
Tint that has become severely bubbled, cracked, or discolored can be incredibly difficult to remove on your own. When the tint has deteriorated to this extent, it often requires advanced techniques to safely strip it away. Professionals have the tools, such as industrial-grade steamers and heat guns, that allow them to tackle tougher jobs more efficiently than the average DIYer. Attempting to remove heavily damaged tint without the right equipment can lead to frustration and potentially cause even more damage to your windows.
Limited Time or Tools
Removing window tint isn’t a quick job. It requires patience, the right tools, and sometimes multiple steps to get everything off properly. If you’re short on time or don’t have access to the proper tools (like a heat gun or steam machine), it might be more efficient to leave the task to the pros. They have the right equipment, as well as the experience to get the job done quickly and correctly, saving you both time and effort in the long run.
Health or Safety Concerns
If you’re sensitive to the chemicals used in some tint removal methods (like ammonia or adhesive removers), or if you’re uncomfortable handling heat tools like a heat gun, it’s a good idea to hire a professional. Professionals have safety protocols in place and are well-equipped to handle any health or safety concerns that may arise during the removal process.
Lack of Expertise
Let’s face it—window tint removal can be tricky! Without experience, you might end up damaging your windows, defroster lines, or even the tint itself. If you’re unsure about your skills, it might be worth the peace of mind to call in a professional. They know the exact techniques and tricks to remove tint without causing any damage to your vehicle or home.
Pros of Expert Removal
Hiring a professional comes with several advantages. Aside from having access to specialized tools and expertise, professionals typically offer warranties or guarantees on their work. They’ll ensure the tint removal is done correctly, saving you from any mistakes that could cost more in repairs later on. Plus, many experts can also help you with reapplying tint if you’re looking for a replacement, ensuring you get the job done right the first time!
In conclusion, while DIY tint removal can be rewarding and cost-effective, certain situations—especially those involving high-end vehicles or complex tint issues—are best left to professionals. If you find yourself in any of the above scenarios, hiring an expert will save you time, effort, and potential damage to your property!
Conclusion
Removing window tint on your own can feel like a daunting task, but with the right tools, steps, and precautions, it can be a satisfying and cost-effective project. By taking the time to follow each step carefully, you can restore your vehicle’s or home’s windows to a clean slate, whether you’re preparing for a new tint or simply want to enjoy a crystal-clear view again.
Throughout this guide, we’ve discussed the essential tools and materials you’ll need, including heat guns, ammonia or soapy water, and adhesive removers. We’ve explored various methods, such as the heat and peel technique, steam method, and ammonia plastic bag approach, so you can choose the one that works best for you. We’ve also covered the importance of working in a shaded and well-ventilated area, as well as how to handle defroster lines carefully, ensuring you don’t cause damage to your windows in the process.
While the DIY process can take time and patience, it’s a great way to save money compared to hiring a professional. However, we also touched on when it’s wise to seek expert help—especially in cases involving luxury vehicles, severe bubbling, or when you simply lack the time or tools.
In the end, removing window tint yourself is all about the satisfaction of taking control of the process and achieving great results. If you follow the guide step-by-step and exercise caution, you’ll successfully remove old tint, set your windows up for a fresh look, and be ready to enjoy a new tint or a clearer, more vibrant view!