The Best Cleaning Practices for Tinted Windows
Tinted windows can add both aesthetic appeal and practical benefits to your vehicle, home, or business. Whether it’s a sleek look for your car or added privacy for your office, window tinting has a lot to offer. But here’s the catch: just like any feature, your tinted windows require proper care and maintenance to keep them looking their best and functioning properly. Improper cleaning or the wrong products can damage the tint, leading to issues like peeling, fading, or reduced functionality.
So, what are the best ways to keep your window tint in top condition? First, it’s crucial to know what to use—and what to avoid—when cleaning. Certain harsh chemicals, abrasive materials, and improper techniques can scratch or discolor your tint, compromising its longevity and performance. That’s why understanding the right cleaning practices is key!
This article will walk you through the essential steps for cleaning tinted windows, helping you maintain their clarity, protect their finish, and ensure they continue to provide their benefits for years. We’ll cover the best cleaning products, the proper tools, and simple yet effective techniques that won’t harm your windows. Plus, we’ll highlight common mistakes to avoid and tips for keeping your tint in pristine condition.
By following these best practices, you can preserve the beauty and functionality of your tinted windows—whether it’s residential window tint, commercial window tint, or automotive window tint. Let’s dive in and explore the ultimate guide to cleaning your tinted windows properly!
What is the Recommended Wait Time Before Cleaning Newly Tinted Windows?
So, you’ve just had your windows tinted—congratulations! But before you reach for the cleaning supplies, there’s one important thing to keep in mind: the tint needs time to cure. Yes, that’s right. Freshly applied window tint isn’t fully set immediately after installation. In fact, it takes some time for the adhesive to bond properly and for the film to settle.
The general rule of thumb is to wait at least 48 hours before cleaning your newly tinted windows. Why? Well, during this curing period, the adhesive is still drying and might be a bit sensitive. If you clean the windows too soon, you could risk disturbing the tint’s placement, causing bubbles or streaks to form, or worse, pulling the tint away from the glass!
But don’t worry—you won’t be stuck staring at dirty windows for too long. After the initial 48-hour waiting period, it’s safe to clean your tinted windows. Just make sure you’re using the right cleaning techniques and products. By allowing this crucial curing time, you’ll help ensure your tint stays smooth, intact, and looking fantastic for years to come!
Why Should Certain Cleaning Products Be Avoided on Tinted Windows?
When it comes to cleaning tinted windows, not all cleaning products are created equal. In fact, using the wrong ones can damage the tint and shorten its lifespan. Let’s talk about a couple of the biggest culprits to avoid: ammonia-based cleaners and abrasive materials.
First off, ammonia is a common ingredient in many household glass cleaners, but it’s something you definitely want to steer clear of when it comes to your tinted windows. Why? Ammonia can break down the tint film over time, causing discoloration, peeling, or fading. Even though ammonia may clean the glass, it’s far too harsh for your tint and will lead to long-term damage if used regularly.
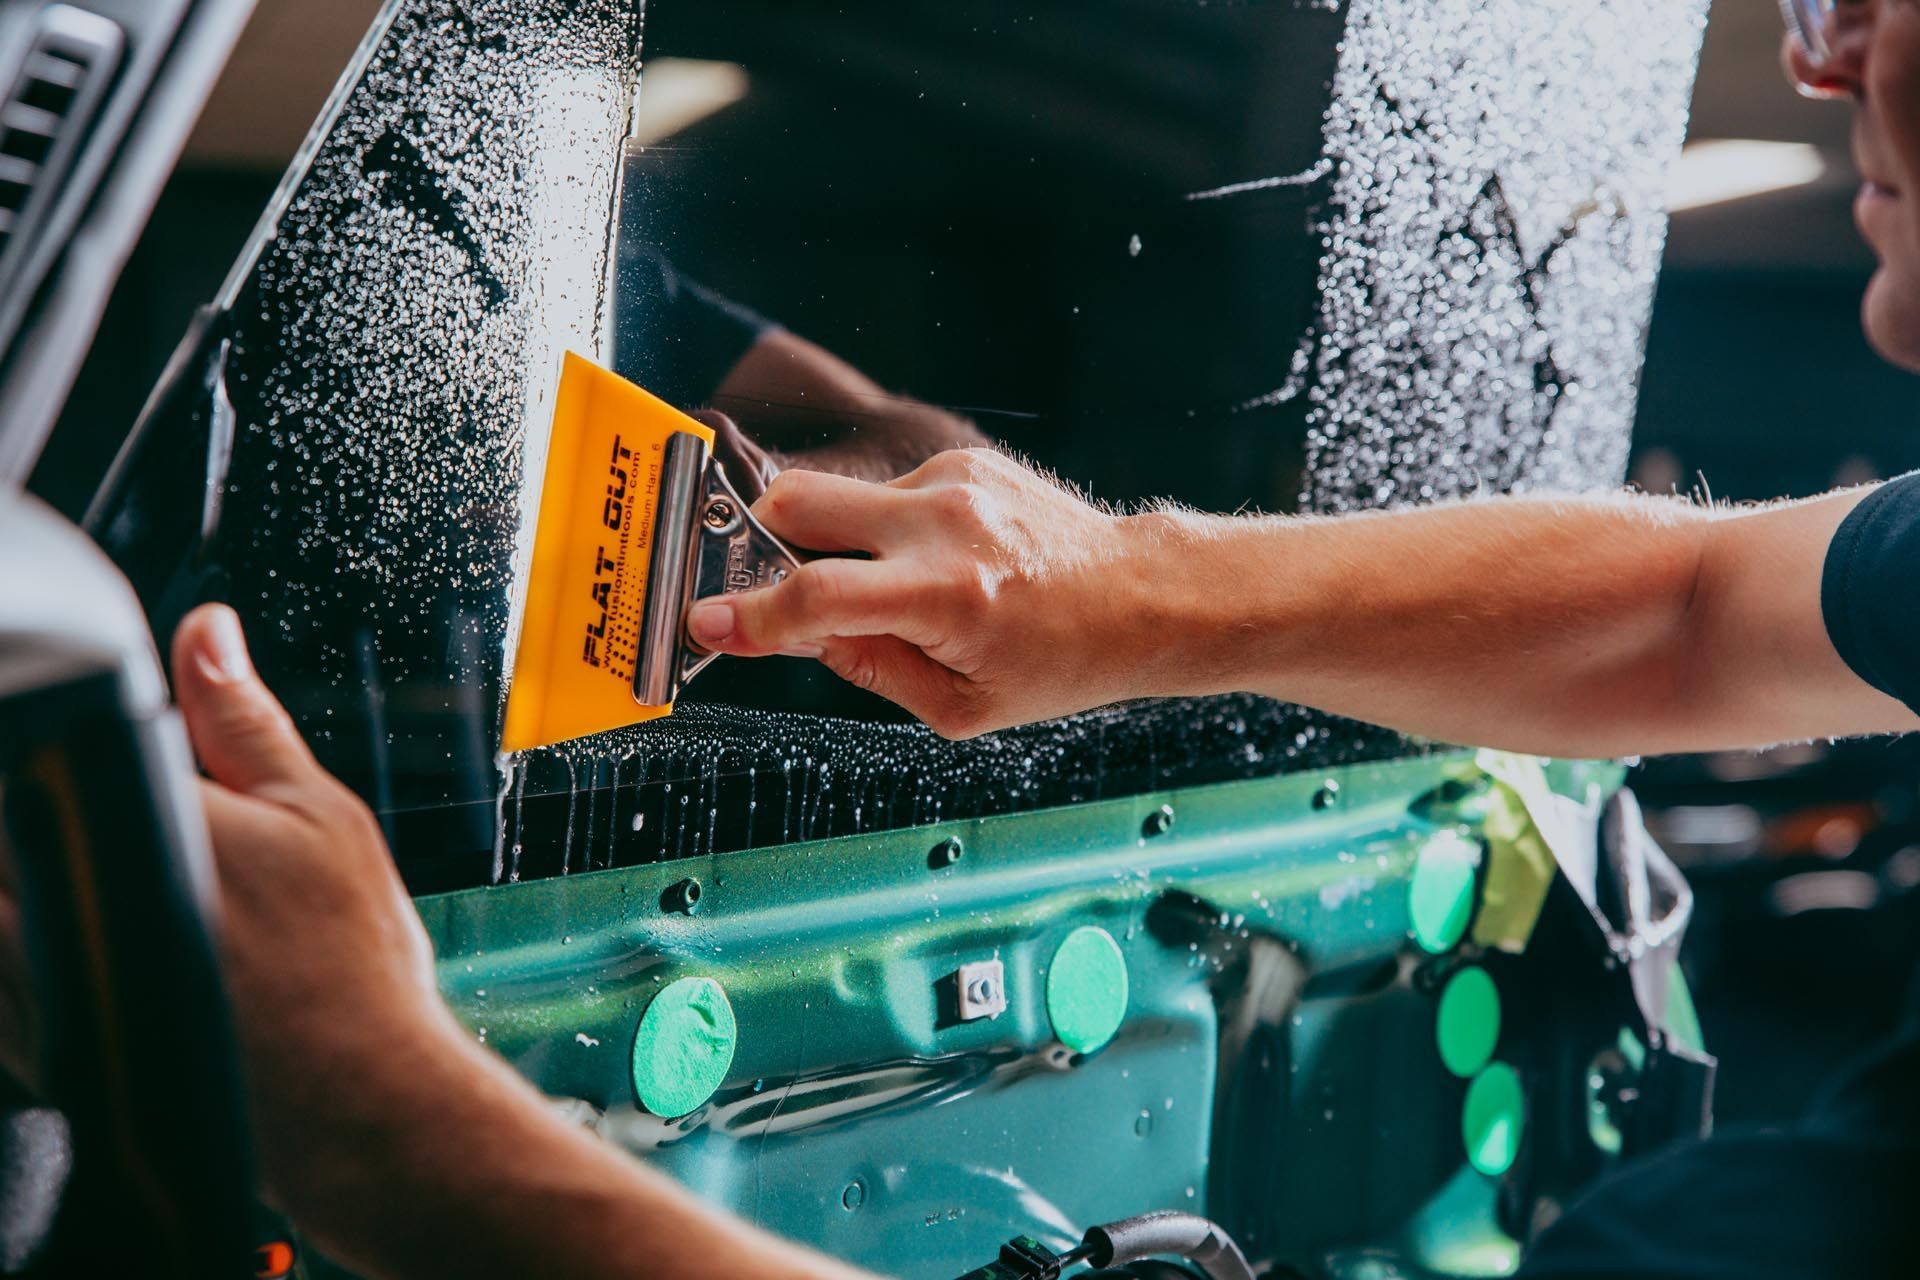
Next, let’s talk about abrasive materials like rough cloths, paper towels, or sponges. These may seem harmless, but they can scratch the surface of your tinted windows, leaving tiny marks that can ruin the smooth finish of your tint. Instead, opt for soft microfiber cloths—these will clean effectively without causing any harm.
By choosing the right products and avoiding harsh chemicals and rough materials, you’ll keep your tinted windows looking clean, clear, and beautiful for much longer!
How Should You Clean Your Tinted Windows Effectively?
Cleaning tinted windows requires a little more care than regular glass, but don’t worry—it’s easy to do as long as you follow a few simple steps. Here’s how you can clean your tinted windows effectively without damaging that sleek tint!
Step 1: Gather your materials
. You’ll need a microfiber cloth, tinted-safe glass cleaner, and a soft sponge (if needed). Avoid paper towels or rough sponges, as they can scratch your tint.
Step 2: Spray the cleaner on the cloth
—not directly on the window. This prevents any cleaner from dripping down the edges and potentially damaging the tint.
Step 3: Wipe gently in a circular motion.
Don’t scrub or press too hard! Gentle motions will lift dust and grime without harming the film.
Step 4: Focus on the edges
. The edges of tinted windows are where most of the dirt and residue build up. Gently clean these areas with extra care to avoid peeling or lifting the tint.
Step 5: Dry with a clean,
dry microfiber cloth. Buff the window lightly to remove any streaks or remaining cleaner.
By using soft cloths, the right cleaner, and gentle techniques, you’ll keep your tinted windows looking pristine and ensure that your tint lasts as long as possible. It’s simple, effective, and will keep your car or home looking its best!
Why is it Advisable to Avoid Rolling Down Windows Immediately After Tinting?
After getting your windows tinted, it’s crucial to resist the temptation to roll them down immediately. But why? Here’s the reason: when your windows are tinted, the film needs time to bond securely to the glass. This process is called curing, and it’s essential for ensuring long-lasting adhesion and proper functionality of the tint.
If you roll down your windows too soon, you risk disturbing the adhesive that is still setting. This premature movement can cause the film to shift, bubble, or peel at the edges. Not only does this create unsightly imperfections, but it can also compromise the tint’s ability to block heat and UV rays effectively.
So, how long should you wait? Most tint professionals recommend waiting at least 48 hours before rolling down your windows. During this time, the tint will fully adhere to the glass and cure properly. Avoiding early window movement allows the adhesive to set correctly, ensuring your tint stays smooth, functional, and intact for years to come.
Patience here really pays off. Give your tint the time it needs to settle, and you’ll avoid costly repairs or replacements down the line!
When Should You Schedule a Professional Inspection After Tint Installation?
After having your windows tinted, scheduling a professional inspection is an essential step in maintaining the quality and durability of the tint. While the tint might look perfect right after installation, there are subtle issues that can develop over time. These might not be immediately visible, and catching them early can save you from more significant damage or the need for a costly replacement.
So, when should you schedule that inspection? A good rule of thumb is to have your tint checked about 3 to 6 months after installation. This allows time for any potential issues—like bubbling, peeling, or discoloration—to surface. A professional inspection at this stage helps ensure that the tint is still properly adhered to the glass and functioning as expected. It’s also a good opportunity to check that the tint still complies with any local regulations.
Additionally, if you notice any changes in the tint’s appearance or performance—like increased glare, fading, or difficulty in rolling down the windows—it’s wise to schedule an inspection sooner. Early assessments can help address problems before they become bigger headaches.
Regular professional inspections will extend the life of your tint, maintain its performance, and keep your vehicle looking sleek for years to come!
How Does Exposure to Sunlight and Heat Affect Window Tint?
Exposure to intense sunlight and high temperatures can have a significant impact on the durability and appearance of your window tint. While tint is designed to protect your interior from harmful UV rays and reduce heat, constant or prolonged exposure to these elements can still cause wear and tear over time.
UV rays, for instance, are a leading cause of tint fading and discoloration. They can break down the tint’s adhesive, causing it to peel or bubble. Additionally, high temperatures inside your vehicle—especially during summer months—can make the tint material expand and contract, which may lead to cracking or warping. This not only affects the aesthetic of your tint but can also reduce its effectiveness in blocking UV rays and heat.
To mitigate these effects, it’s important to park in shaded areas whenever possible or use a sunshade to protect your windows from direct sunlight. Regularly cleaning your windows with the right products also helps maintain the tint’s integrity. Consider opting for higher-quality tints that offer more UV protection and heat resistance for better long-term performance.
By taking these simple precautions, you can extend the life of your window tint, ensuring it continues to perform well and look great!
What Steps Can Prevent Accidental Damage to Freshly Tinted Windows?
Freshly tinted windows are a beautiful addition to your vehicle or home, but they can be vulnerable to accidental damage if not handled with care. One of the most common ways to damage tinted windows is by scratching or chipping the surface. Simple things like improperly using cleaning tools or objects in contact with the window can cause irreversible marks.
To prevent scratches, always use a soft microfiber cloth when cleaning your tinted windows. Avoid using abrasive materials like paper towels or rough sponges, which can scratch the tint. Additionally, never use cleaning products with harsh chemicals, as they can weaken the tint’s adhesive.
When it comes to preventing damage from pets, children, or other objects, it’s important to be mindful of their proximity to your windows. For instance, avoid allowing pets to jump or scratch near the windows, as their claws can easily cause scratches. Similarly, children playing near the windows should be supervised to ensure they don’t accidentally hit or press too hard on the glass.
Finally, consider using window films that offer added scratch resistance if you’re particularly concerned about damage. By following these simple steps, you can keep your freshly tinted windows looking pristine for years to come!
How Does Regular Maintenance Contribute to the Longevity of Window Tint?
When it comes to window tint, regular maintenance plays a crucial role in ensuring its longevity and performance. Just like any other feature in your vehicle or home, window tint needs routine care to keep it looking great and functioning as it should.
One of the key benefits of regular maintenance is keeping your tint clean. Dust, dirt, and grime can build up over time, and if left unchecked, they can wear down the tint’s surface. By regularly cleaning your windows with the right tools and solutions, you can prevent any buildup that might cause scratches or affect the clarity of the tint.
Additionally, minor repairs, such as fixing small bubbles or edges that may begin to peel, can extend the life of your tint. Ignoring these small issues can lead to bigger problems down the road, including peeling or lifting, which can compromise both the aesthetic and protective qualities of the tint.
Routine check-ups, especially after harsh weather conditions or general wear and tear, help maintain the tint’s integrity. A professional inspection can identify any hidden issues early, preventing further damage. By staying on top of these simple maintenance steps, you can enjoy your window tint for years without worrying about fading or damage!
Where Can You Find Recommended Cleaning Products for Tinted Windows?
Finding the right cleaning products for tinted windows is essential to ensure that you don’t inadvertently damage the tint. When shopping for cleaners, it’s important to look for those that are specifically designed for tinted surfaces or are free of harsh chemicals like ammonia, which can break down the tint over time.
You’ll want to focus on products that are gentle yet effective. A soft, lint-free microfiber cloth is a must-have for cleaning tinted windows, as it helps prevent scratches. As for cleaning solutions, look for those labeled as “safe for tinted windows” or those that specify they are ammonia-free. Many brands offer gentle yet effective cleaners that won’t compromise the tint’s integrity.
You can find high-quality cleaning products at various locations. Auto parts stores and online retailers such as Amazon or specialized auto detailing shops often carry products tailored to tinted windows. For residential window tint, home improvement stores may also have suitable cleaning solutions. Another option is to ask your tint installer for recommendations on cleaning products—they often offer trusted brands.
By using the right tools and cleaners, you’ll help ensure your tinted windows maintain their clarity and protective benefits for years to come!
What Common Mistakes Should Be Avoided When Cleaning Tinted Windows?
Cleaning tinted windows may seem straightforward, but there are a few common mistakes that can cause damage if you’re not careful. Avoiding these missteps will help keep your tint in top shape for years to come!
One of the biggest errors is using harsh chemicals like ammonia-based cleaners. These can degrade the tint over time, causing it to fade or peel. Stick to ammonia-free solutions, which are specifically designed for tinted windows, to preserve the tint’s integrity.
Another mistake is using abrasive materials, such as rough towels or paper towels. These can scratch the surface of the tint, leaving it damaged or cloudy. Instead, opt for soft, microfiber cloths that gently clean without causing harm.
Rolling down the windows too soon after tinting is another common error. It’s important to wait at least 2-3 days to allow the tint to fully cure and adhere to the glass. Premature window movement can result in bubbling or peeling.
Finally, cleaning your windows in direct sunlight is not ideal. The heat can cause the cleaning solution to dry too quickly, potentially leaving streaks or residue. Choose a cool, shaded time of day to clean your windows for the best results.
By avoiding these mistakes and following best practices, you can maintain the look and function of your tinted windows with ease!
Conclusion
In conclusion, taking proper care of your tinted windows not only preserves their appearance but also extends their lifespan. We’ve explored several key practices to ensure your tint stays in top condition, such as waiting the recommended time before cleaning, avoiding harsh chemicals and abrasive tools, and rolling down your windows only after sufficient curing. These simple steps can prevent premature damage and help maintain the protective benefits of your tint.
To recap, using ammonia-free cleaners, soft microfiber cloths, and gentle cleaning techniques will keep your tint intact. Additionally, timing is crucial—be patient and allow the tint to cure fully before touching or operating your windows. These proactive steps safeguard your investment, ensuring your windows remain clear, functional, and aesthetically pleasing for years to come.
Regular maintenance, such as cleaning and inspections, is vital in preserving the quality of your tinted windows. By following these guidelines, you can ensure your tint continues to provide the desired UV protection, heat reduction, and privacy benefits.
So, take a little extra care with your tinted windows—it’s worth it in the long run! With the right approach, your windows will not only look great but will also stay in excellent condition, providing you with all the benefits they were designed to offer. Keep these best practices in mind, and enjoy the longevity of your beautifully tinted windows for many years ahead!